Recipes

14.09.2011

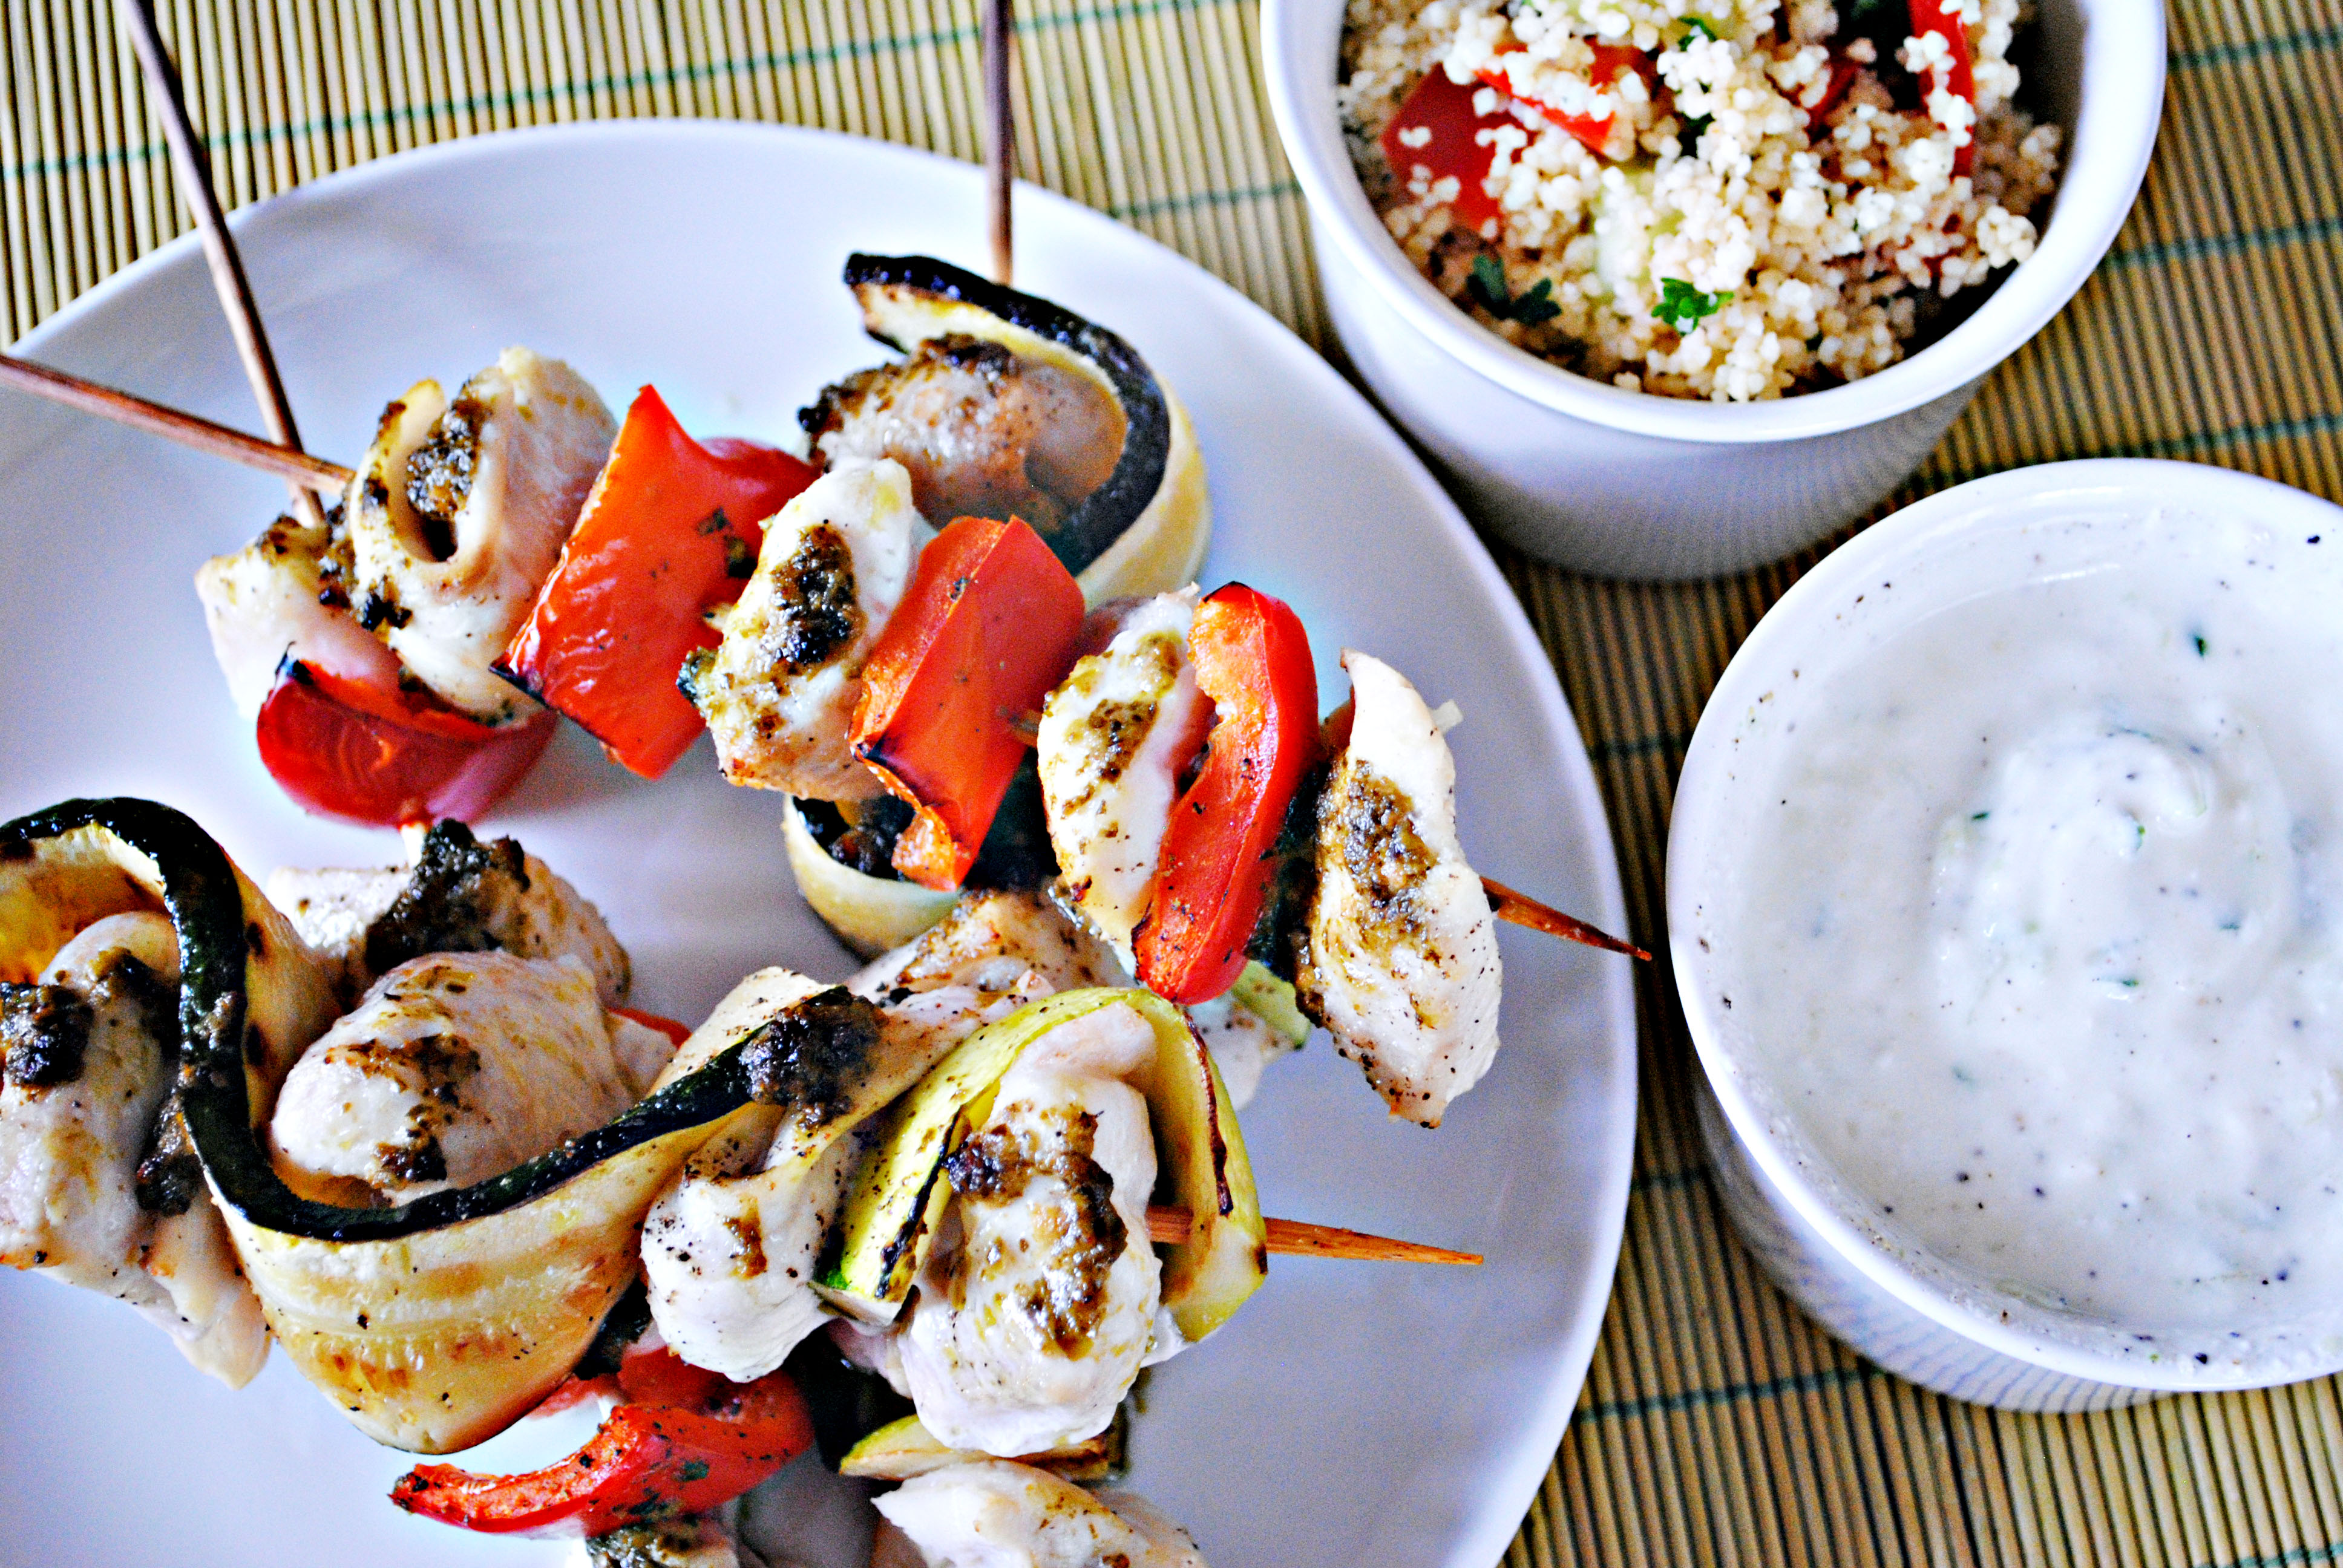
Fish Skewers with Couscous and Vegetables


It's only the first day of my so-called "diet" but can you notice the change of my eating habits already? Can you?! I sure can... Who else eats fish twice a day?! Well, I didn't exactly plan for this to happen, but we had lot's of fish in the fridge so I decided to use it up rather than waiting for tomorrow~


Ingredients

(serves 4)
  • 6 filets of fish (flounder is the fish I used)
  • ready made pesto
  • 1 large zucchini
  • 2 red peppers
  • salt
  • freshly ground pepper
  • olive oil
  • wooden skewers

Preparation

Slice the zucchini lengthwise into 1/2cm thick stripes. In a large frying pan heat some olive oil on high heat. Place the zucchinis into the hot pan and fry each side for 3 minutes or until soft. Take away from heat and allow to cool down.

Preheat oven to 250°C!

Cut each fish filet into half. Then divide each half into 4-5 pieces. Sprinkle a few pinches of salt onto each side of the fish and grind some pepper too.
Now, use your hands to skewer the zucchini and fish onto your wooden skewers as shown in the picture below.

Note: You could also just cut your zucchini into bite sized pieces... That would probably be easier~ PLUS you wouldn't have to go through all the trouble of frying the zucchini to soften it! 

Cut your pepper into 3-4cm pieces and skewer them like this: fish-pepper-fish-pepper etc. easy?
Place all skewers into a large pan. Grab some pesto from the fridge and spread about 1 teaspoon of pesto onto each skewer. Then bake your babies in the preheated oven for only 8-10 minutes! Voilà!

Serve with pasta, rice or potatoes! I chose to make couscous salad... I just love couscous to death!

Cinnamon Nut and Raisin Roll Bread


Cinnamon!!! Nuts!!! And Raisins!!! This is probably THE perfect bread recipe everrr. All of you who love cinnamon, nuts and raisins should definitely try out this recipe! Look how pretty the bread turned out~


Ingredients


(makes two loaf pans full)

Sweet yeast dough
  • 2 3/4 cups of all purpose flour
  • 3/4 cube (35g) fresh yeast
  • 1/4 cup sugar
  • 1 teaspoon bourbon vanilla
  • 1/3 cup milk
  • 3 tablespoons butter
  • 1 large egg
  • 1/4 cup water
  • 1/2 teaspoon salt
Filling and eggwash 
  • 2 tablespoons melted and browned butter
  • 250g sugar (add more or less, depending on how sweet you want the bread to be)
  • 1,5 tablespoons cinnamon
  • 5 tablespoons raisins, soaked in 2 tablespoons cognac and 2 tablespoons water
  • 6 tablespoons ground Almonds or Hazlenuts
  • 1 egg yolk
  • 1dl milk

Preparation

Preheat oven to 170°C.

In a large mixing bowl whisk together 2 cups flour, sugar, and salt.  Set aside.
Whisk the egg  and set aside.

In a small saucepan, melt together milk and butter until butter has just melted.  Remove from the heat and add water and vanilla extract.  Break in the fresh yeast and stir well until the yeast has dissolved completely.

Pour the milk mixture into the dry ingredients and mix with a spatula.  Add the egg and stir the mixture until the eggs are incorporated into the batter. Add the remaining 3/4 cup of flour and stir with the spatula for about 2 minutes.  The mixture will be sticky.  That’s just how you want it!

Place the dough in a large,  slightly greased bowl.  Cover with plastic wrap and a clean kitchen towel.  Place in a warm place and allow to rest until doubled in size, about 1 hour.

While waiting for the dough to rise, soak the raisins as listed above. Mix together the sugar and cinnamon in a medium sized bowl. In a small frying pan brown the sugar and set aside. In a small bowl combine the egg yolk and 1dl milk for the eggwash.

Once the dough is ready to be deflated, sprinkle some flour onto a clean surface and roll the dough out into a rectangle. (50x30cm) Using a kitchen brush, spread the butter onto the dough. Sprinkle the nut powder onto the butter, evenly spread the cinnamon sugar onto the nut powder and finally top with the soaked (squeeze out the liquid with your hands before adding to the dough) raisins.

Divide the dough into half (you'll have 2 pieces of 25x30cm rectangles). Leave the dough to rest for 5 minutes. Then start rolling up the dough to make a 25cm roll. Place the roll into a greased loaf pan and let it rest again for 10 minutes in a warm place. Brush some eggwash over the top and sides of your loaf and bake in the preheated oven for 25-30 minutes. The top will be a beautifully shiny, golden brown. Serve warm! You'll love it!!!

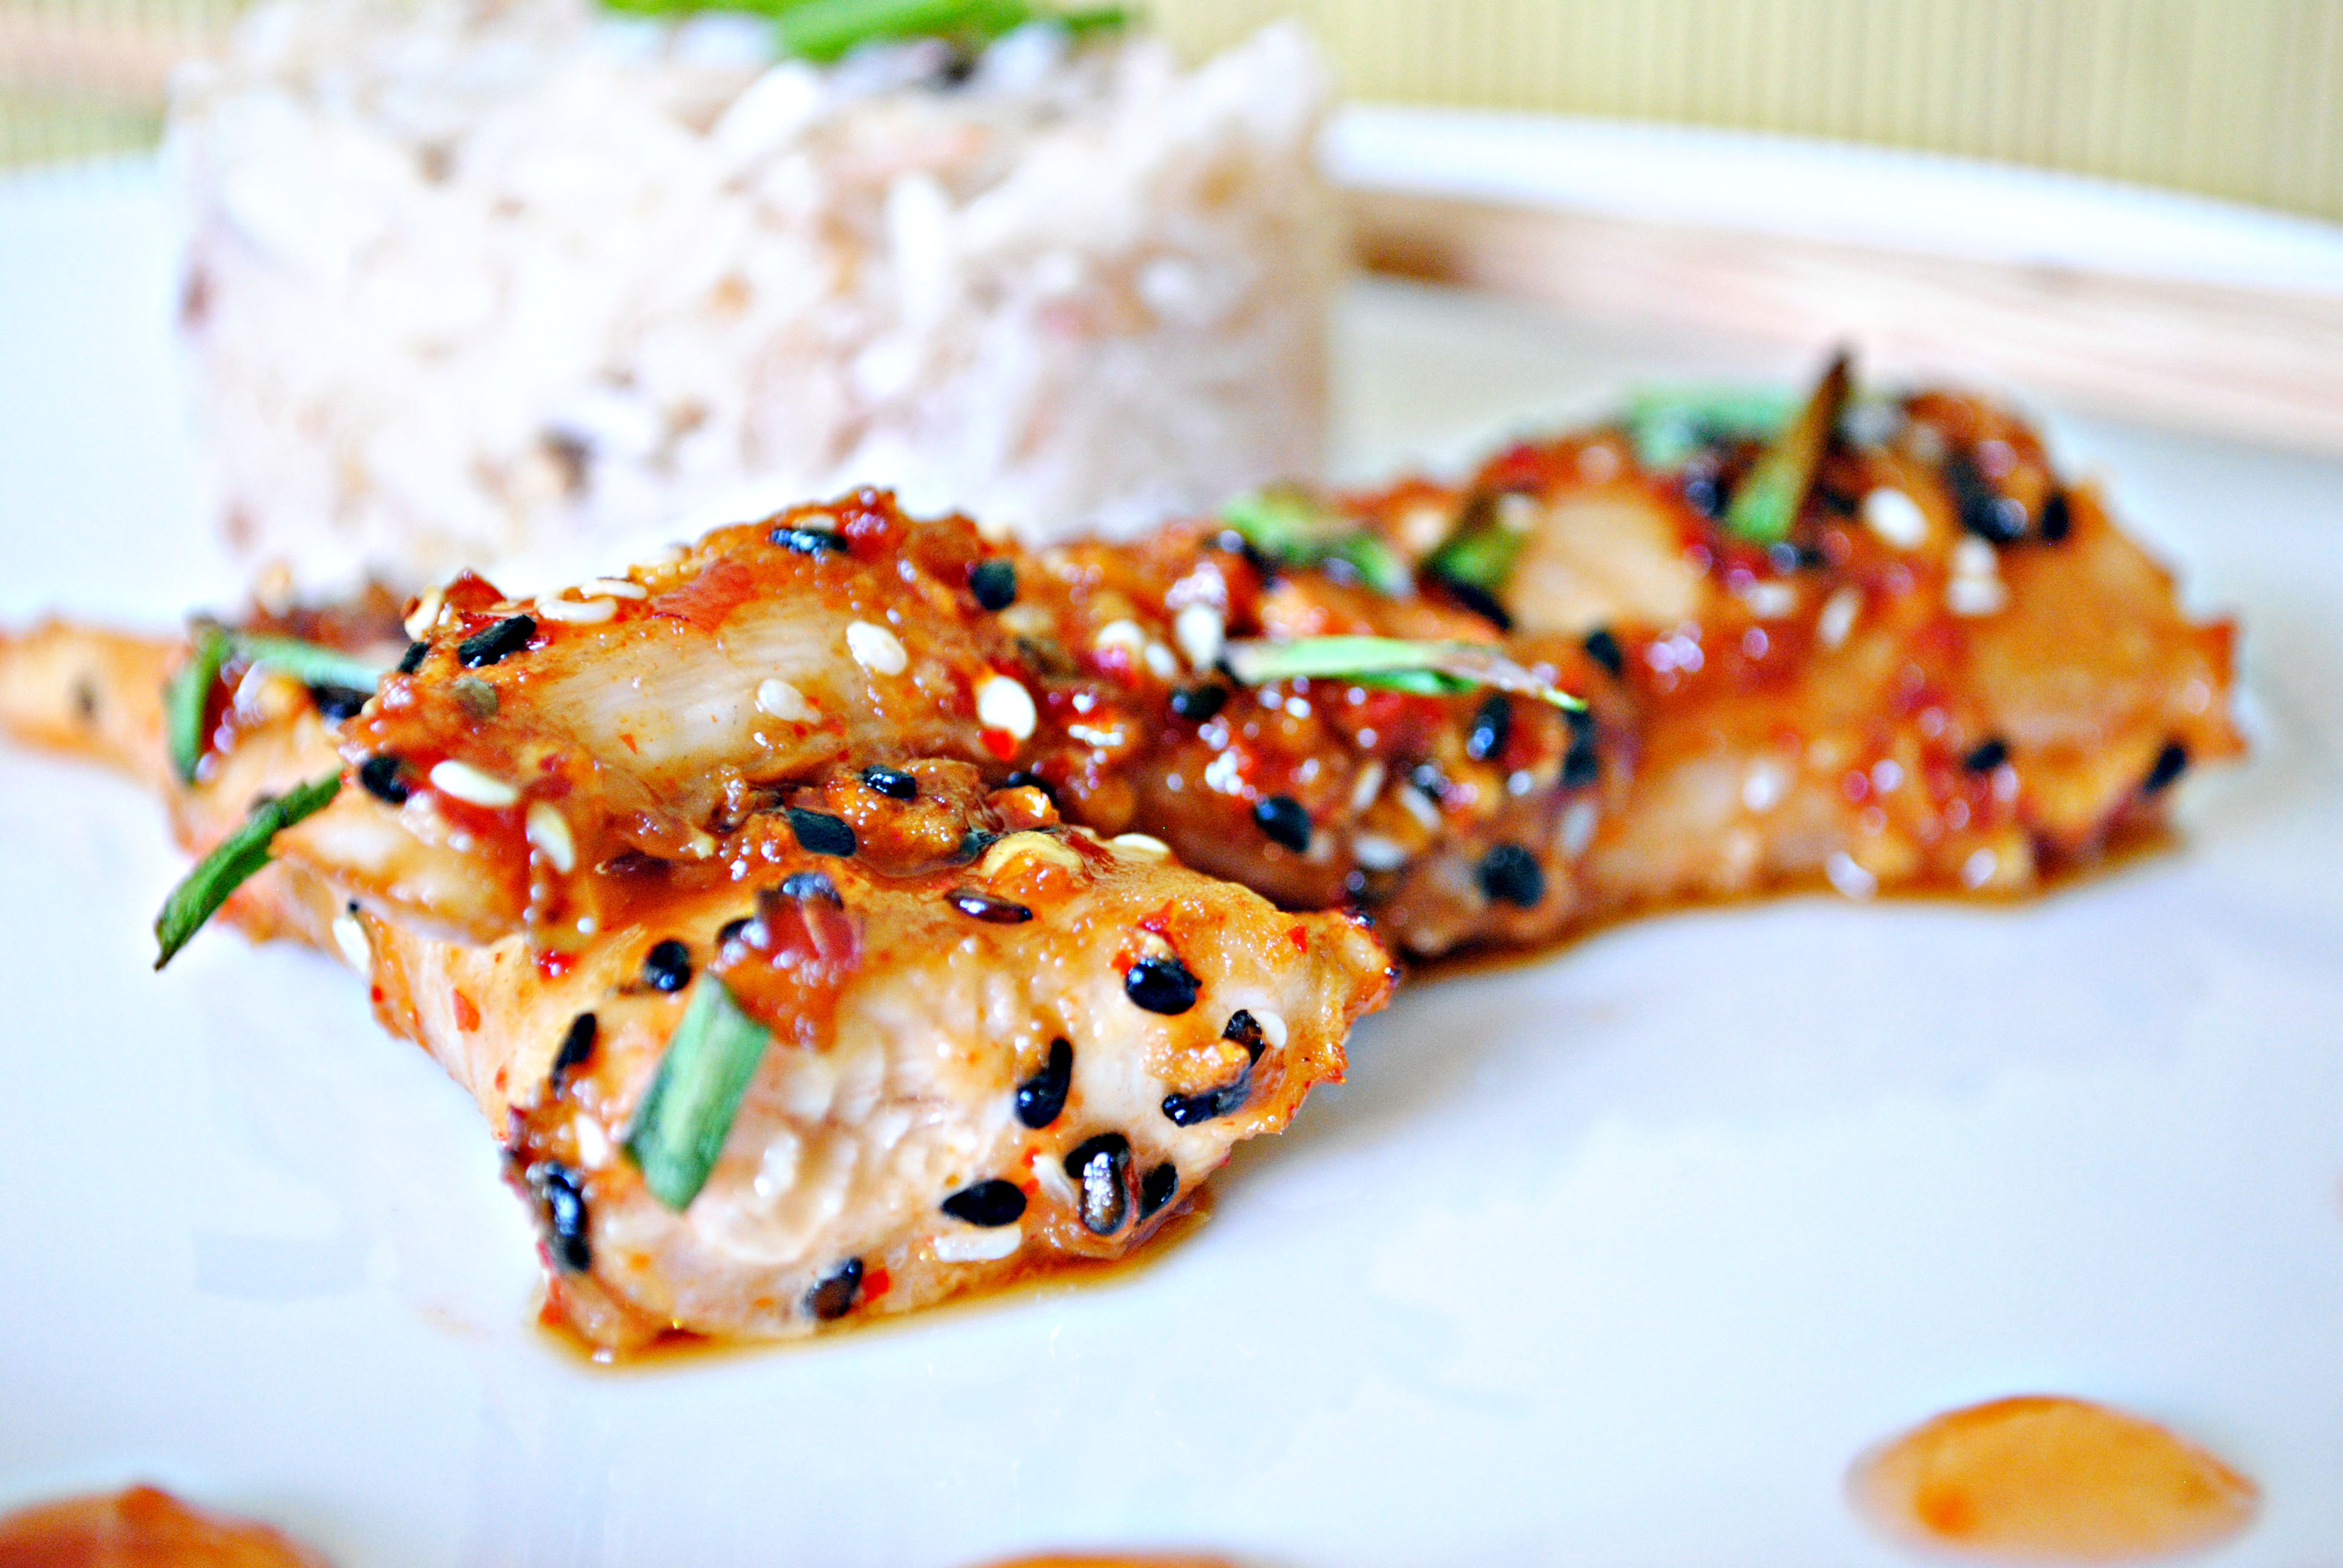
Asian Style Fish with Ginger and Chilli


Dear me... Starting from today I am officially putting myself on a diet. A strict Garfield-like diet. All that baking and cooking has left me with some extra Kilos and I'm not amused! I won't be baking or making desserts until I leave Switzerland! The only thing I will be doing is cooking healthy and mainly low-fat food!!! Pleeeease go away extra kilos, I beg you! The other reason I will not be attempting any sweets and breads, is that I have a whole freezer full of all the things I have been making so far. My task for the next few days will be to eat the frozen goods one by one without making anything new! Wait a minute... How am I supposed to diet if I have to eat up all of that?!


Ingredients

(serves 4)
  • 6 filets of fish (I used Flounder, but you're free to use almost any fish you want! Salmon, Hailbut... whatever)
  • 1 tablespoon sesame seeds
  • 2-3 garlic cloves, pressed/crushed
  • 1 tablespoon grated gresh ginger
  • 3 teaspoons gochu garu (Korean dried chilli flakes)
  • 4 tablespoons light soy sauce
  • 1 tablespoon sesame oil
  • 4 tablespoons water
  • 2 tablespoons sweet chilli sauce (thai chilli sauce)
  • some chives or spring onions, chopped
  • steamed white rice

Preparation

Cut each fish filet into 4 pieces. Mix the sesame seeds, grated ginger, gochu garu, soy sauce, crushed garlic, sesame oil, water, sweet chilli sauce and some chopped chives into a large bowl and mix well. Add the fish pieces and marinate the fish in the sauce for 15 minutes.

Preheat oven to 250°C or more! The oven has to be hot hot HOT! Then place the fish into a large gratin pan, drizzle the sauce over the fish and bake in the oven for 8-10 minutes!
Serve with steamed white rice and eat with chopsticks!


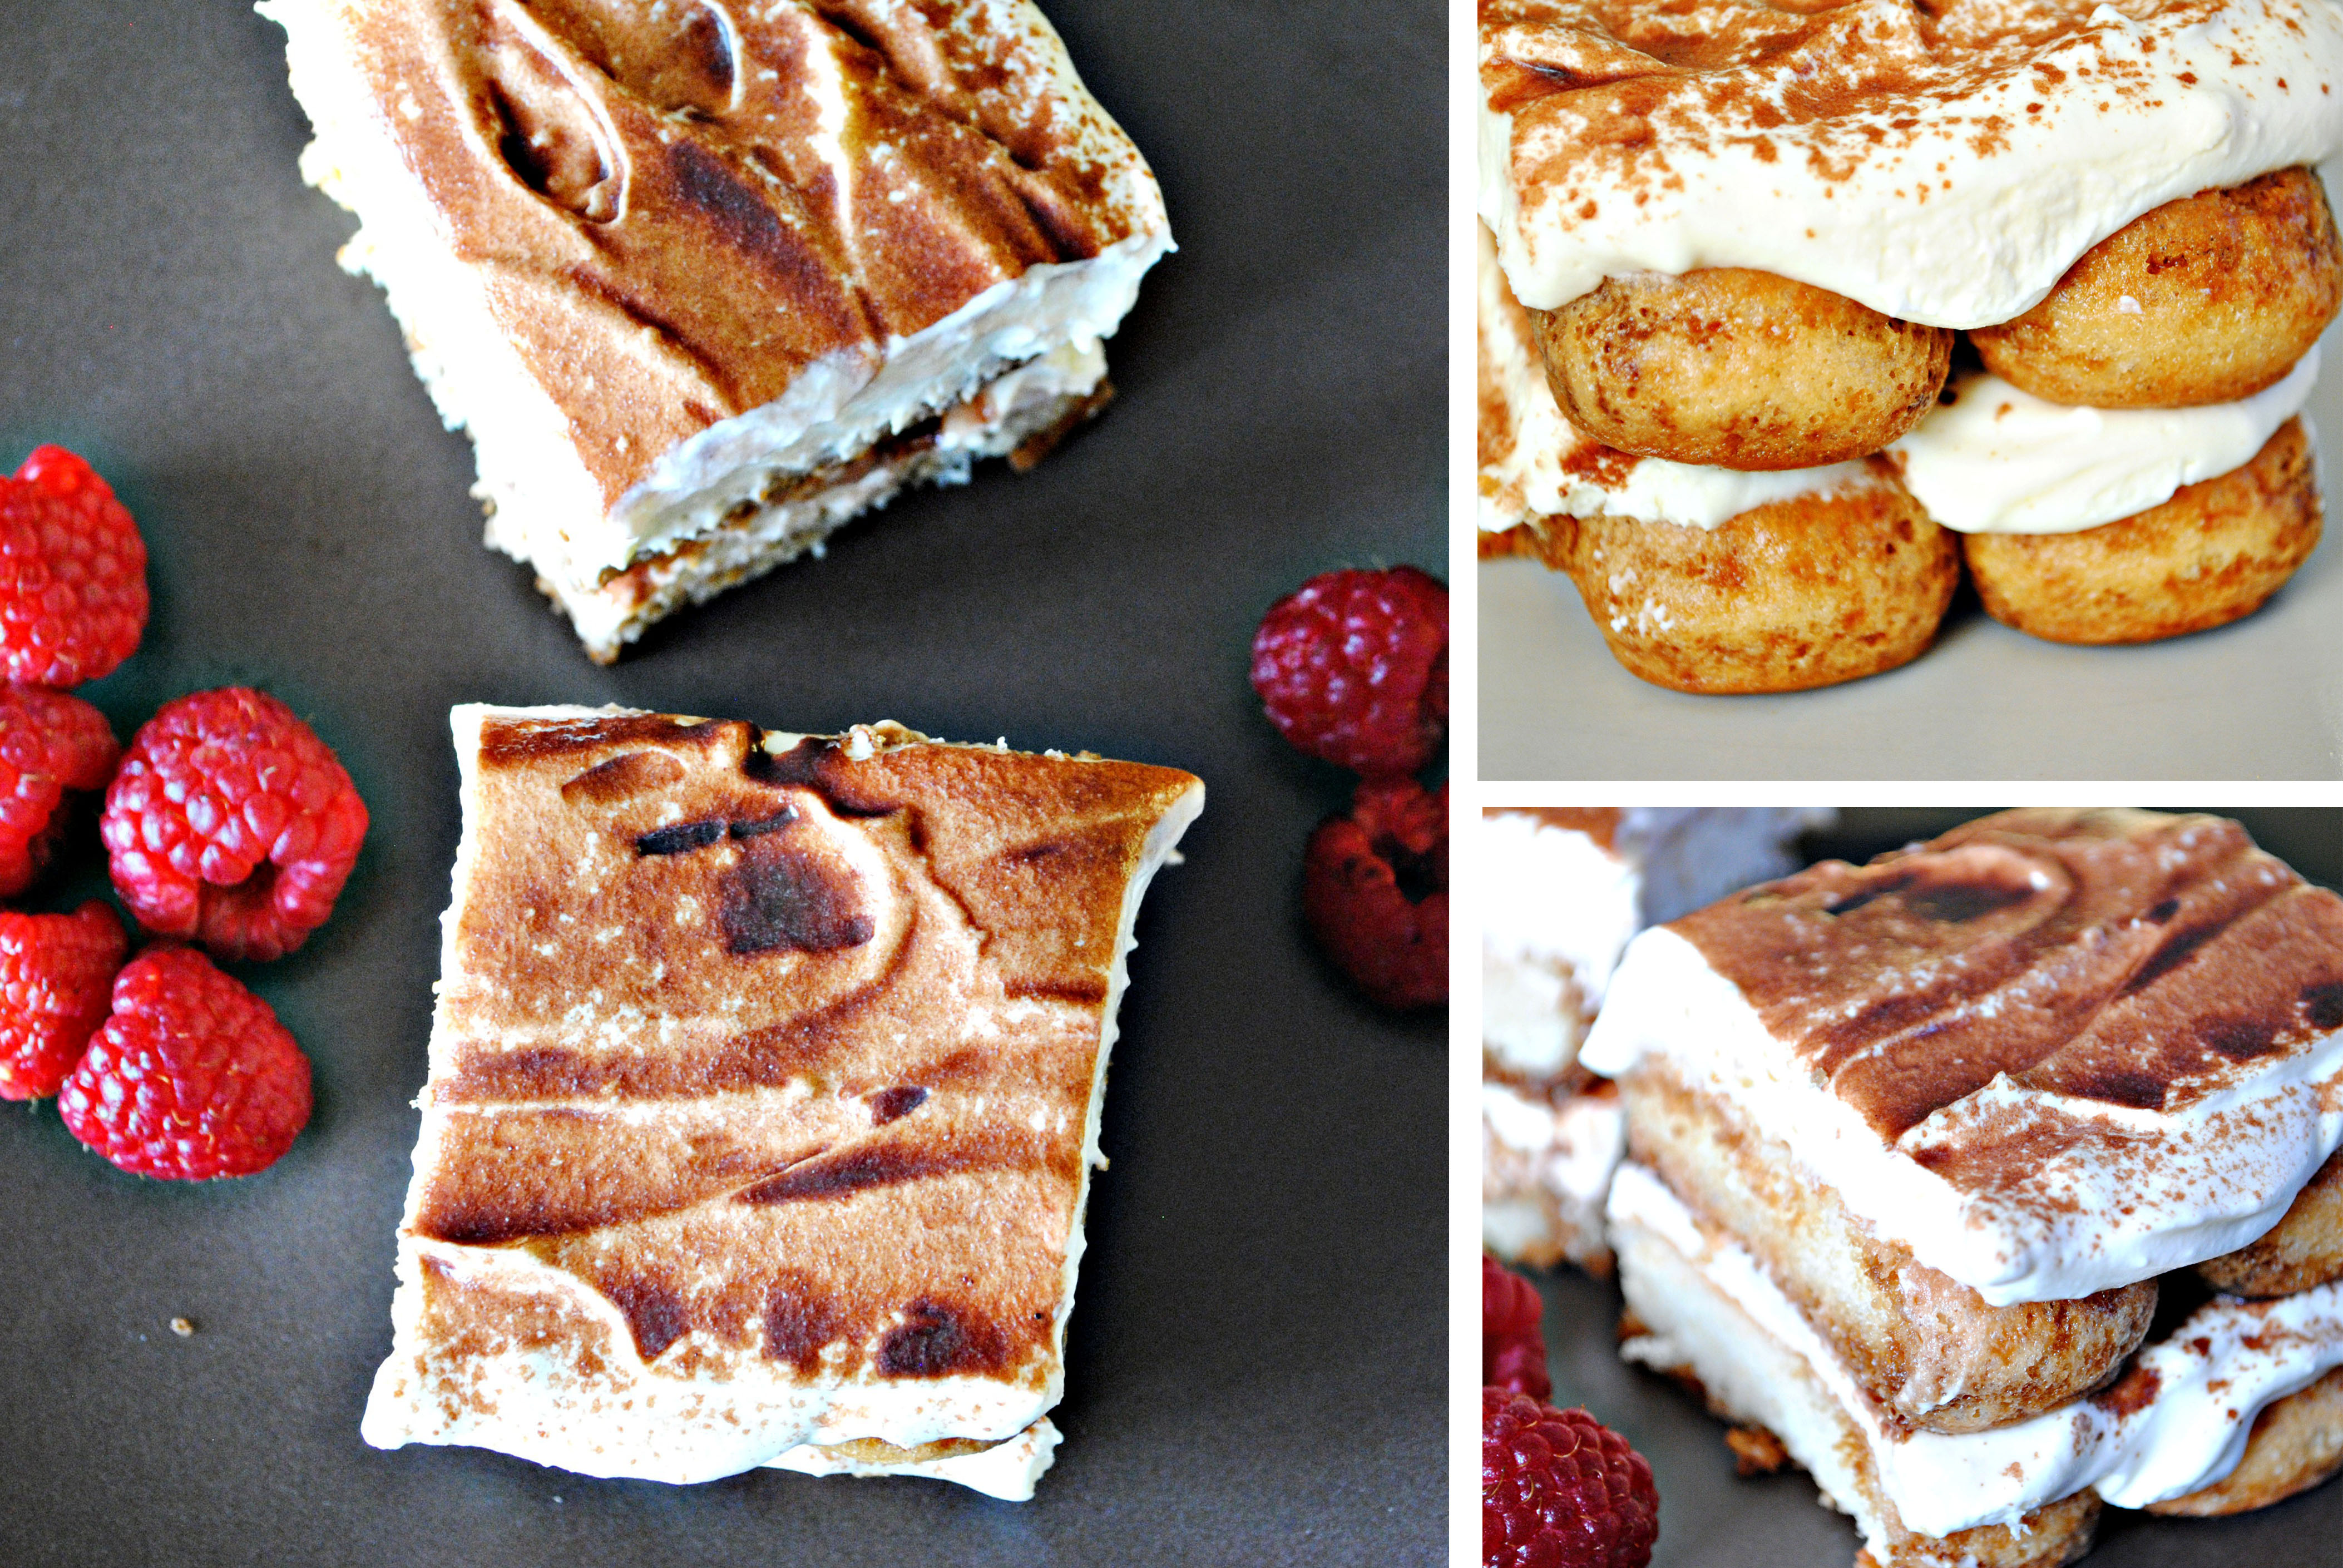
The Original Tiramisu Without Eggs


I have never ever ordered Tiramisu in a restaurant... And I probably never will, unless they specifically confirm to a 100% that they don't use eggs in their Tiramisu. I won't have it with eggs. I seem to have a weird but pretty serious raw-egg-phobia... Maybe I should go to therapy? Just thinking about raw, gooey, slimy, wet eggs makes me want to... never mind.
So here is my way of making Tiramisu. Fo once, not squashed into verrines and without any fancy additions like frozen raspberries, or caramelized plums... Just plain jane Tiramisu like old Nonnas used to make in Italy. Perfectly easy, quickly done and I'm pretty sure it tastes almost as good as Tiramisu with eggs! But I'm not the one to judge here. One thing's of sure: I DID IT MY WAY ~


Ingredients 


(makes one 14x20cm gratin pan)
  • 200g mascarpone
  • 200ml low fat cream
  • 2 tablespoons powdered sugar
  • 1,5 tablespoons cognac
  • 300ml strong coffee
  • 12-14 lady fingers
  • unsweetened cocoa powder

Preparation

Whip the cream on medium-high speed, gradually add in the sugar and beat on high speed until medium stiff peaks form.

In the bowl of your stand mixer, cream the mascarpone on low speed with the cognac. Using your spatula, fold the whipped cream into the mascarpone until smooth and combined.

Quickly dip the ladyfingers into the coffee to moist all sides (not too long though, or they will fall apart!) Place them into the gratin form. 1 layer fits 6-7 ladyfingers. Using a spoon or spatula, spread half of the cream onto the ladyfingers and sprinkle some cocoa powder onto the cream. Add another layer of ladyfingers onto the cream, proceeding with the coffee like the first time. Spread the remaining portion of cream onto the top and smooth out with a spoon or spatula. Sprinkle a thin layer of cocoa powder onto the top and refridgerate over night, or at least 8-10 hours.

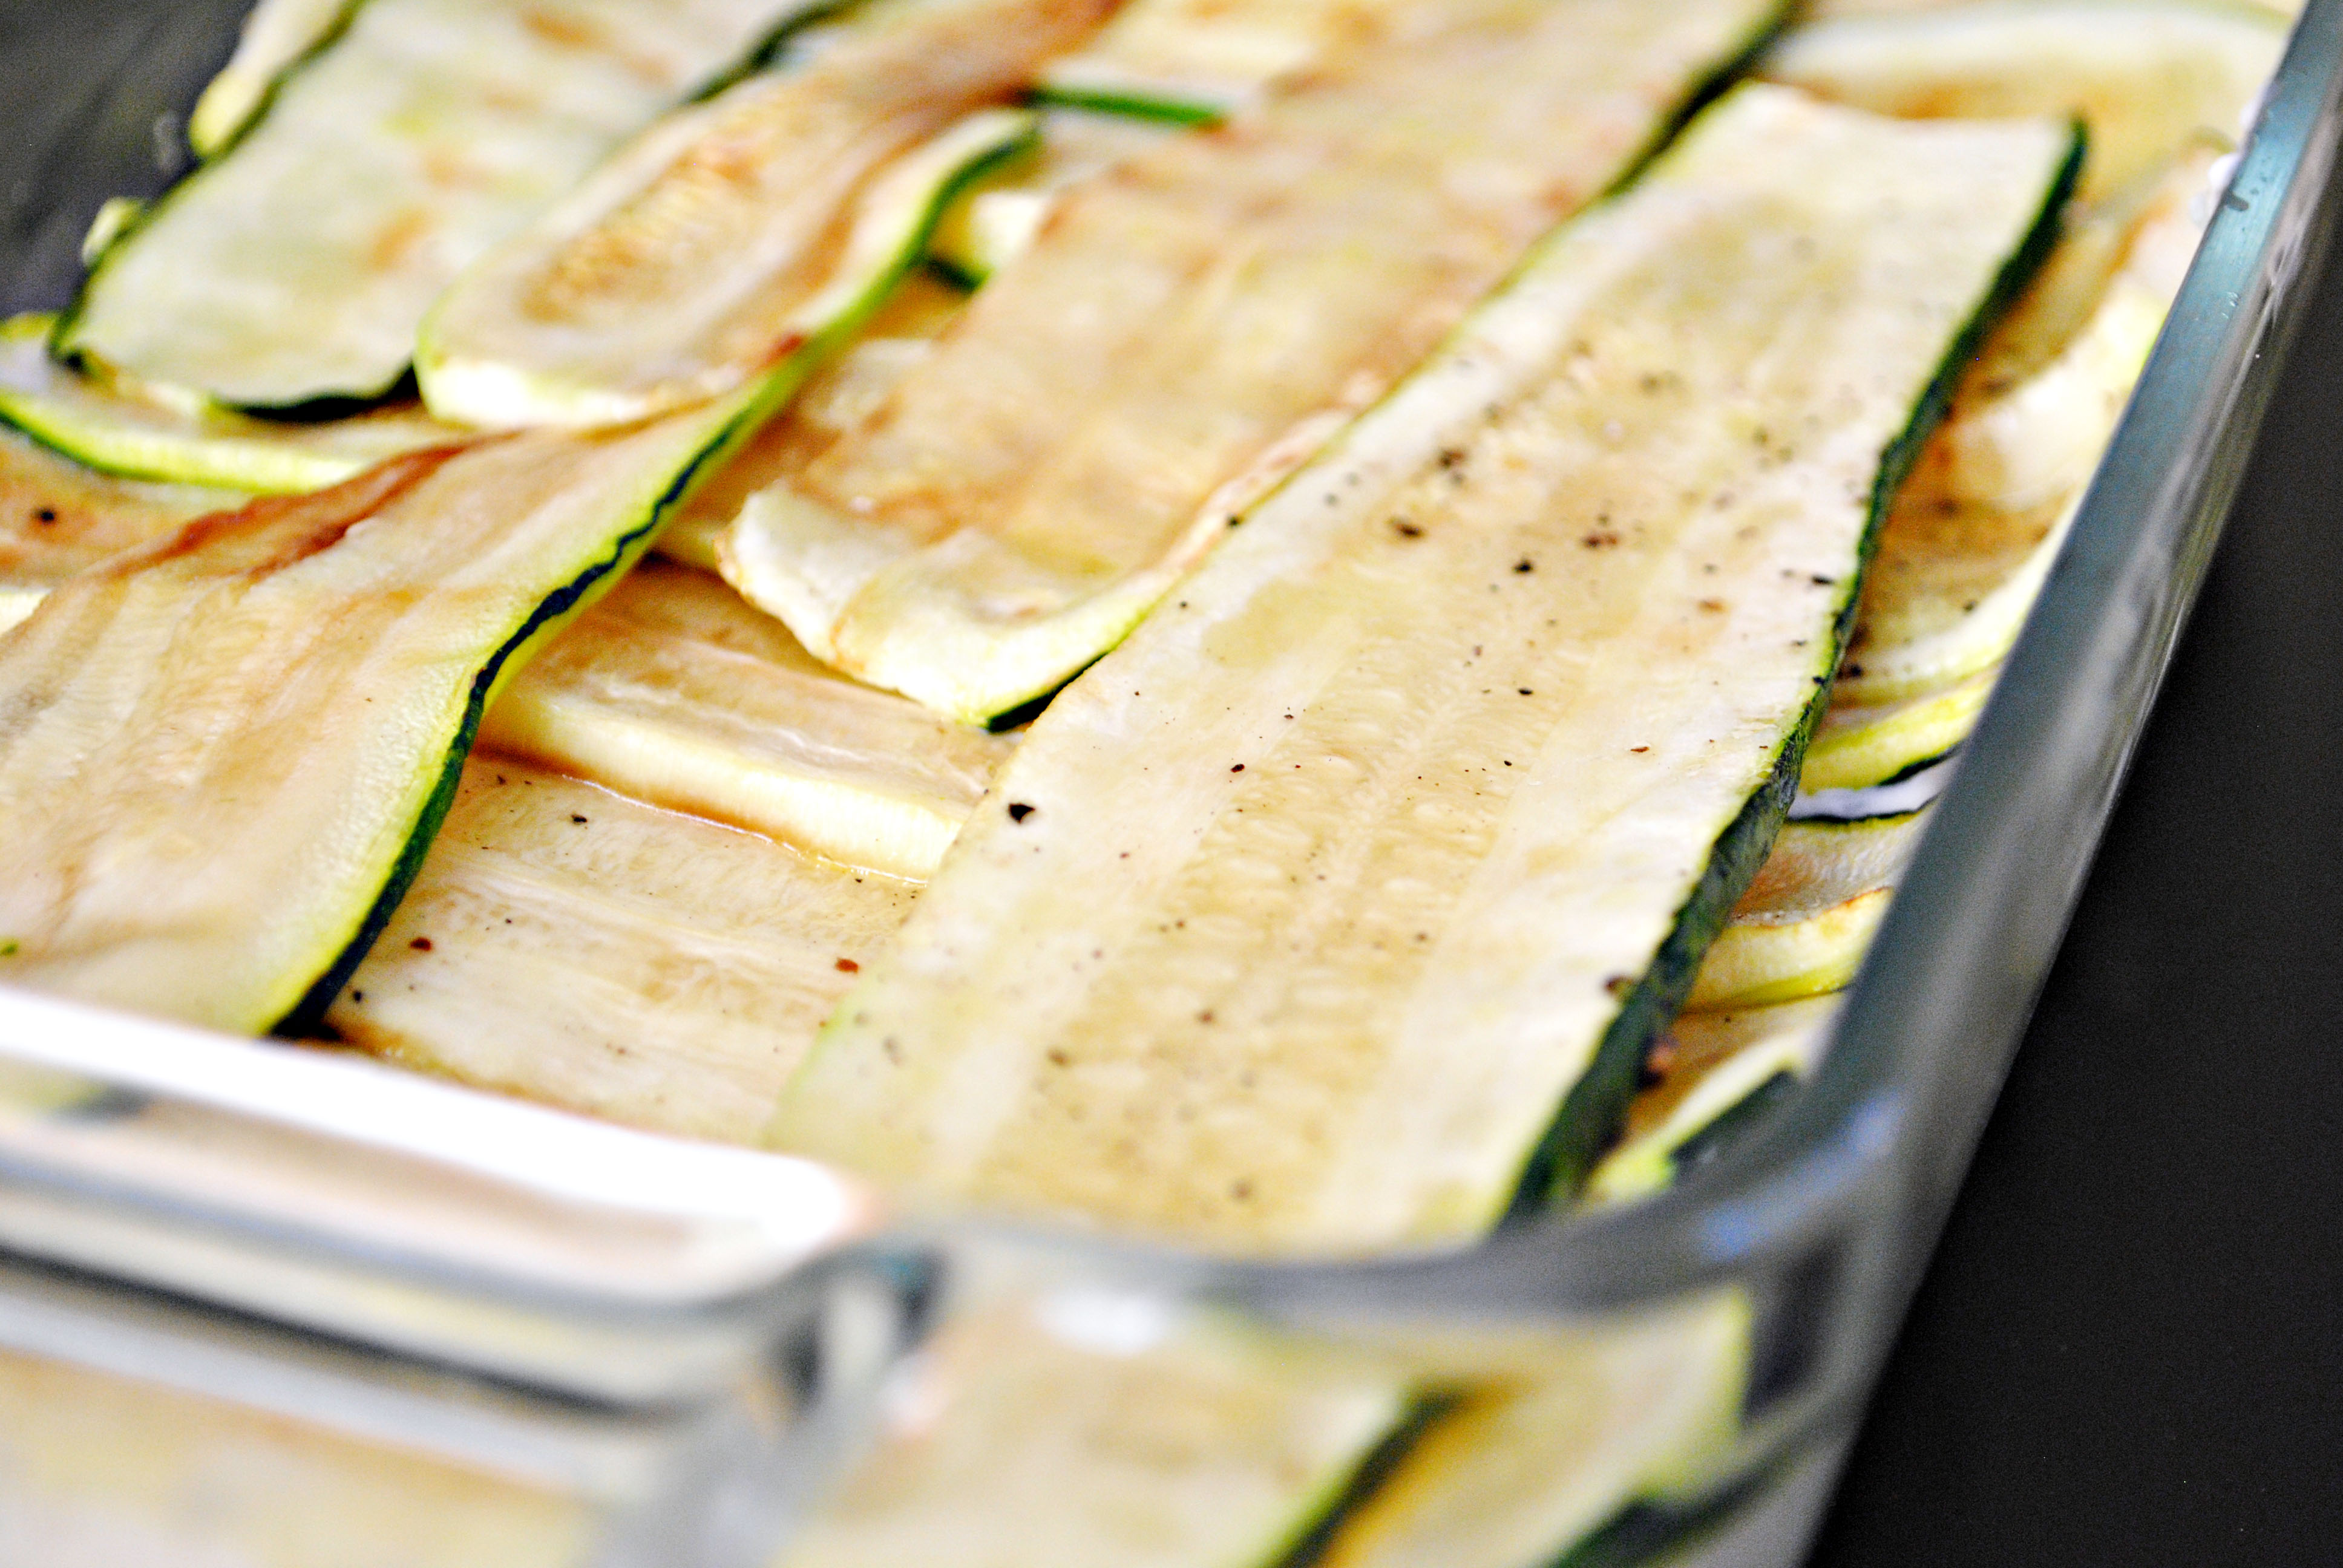
Zucchini Lasagne


A few years ago my dad and I saw this recipe in a weekly magazine on a warm summers day and decided to try it out immediately! The recipe looked so fresh and we both knew immediately that it would grant us with a perfectly light summer lunch. Today, I made this zucchini lasagne for my mom and brother who absolutely loved it! This is a very light dish so we ate freshly baked sunflower seed bread and Gruyere cheese with it... yummmmy!


Ingredients


(makes enough for 4 if you eat bread or salad with it)
  • 6-8 medium zucchinis, sliced lengthwise into 1/2 cm stripes
  • 400g low fat quark, drained overnight (substitute with:  350g of Ricotta Cheese and 50g of Sour Cream and blend together)
  • 1 dl milk
  • 100g ground parmesan cheese + more to sprinkle on top
  • 1 handfull of fresh basil or parsley
  • 2 medium sized eggs
  • 1,5 teaspoons salt + more for grilling zucchinis
  • 2 teaspoons ground pepper
  • olive oil

Preparation

Place quark into a cheese cloth and drain the water for 2 hours in the fridge.
In a medium bowl combine the quark (or ricotta with sour cream) with the eggs, 1dl milk, 100g parmesan cheese and chopped basil or parsley. Add salt and pepper and mix well. Cover with wrap and place in the fridge.

Wash the zucchinis, peel off the skin in a zebra-style, not all(!) and slice lengthwise into 1/2cm thick pieces. Heat  some olive oil in a large pan or even better - a grilling pan with grids - on high heat. Place the zucchini into the hot pan, sprinkle with a pinch of salt and grill on each side for about 3 minutes. Place the medium-soft zucchinis onto a plate and repeat this procedure until all the zucchinis are done.

Preheat oven to 180°C.

In a gratin pan with high sides, place a layer of zucchini onto the bottom. Spread the quark filling over the zucchini and repeat until the last layer on top is zucchini.
Tip: Layer the zucchini this way: one layer horizontal the next vertical etc. It will be easier to cut the lasagne in the end!

Sprinkle some parmesan cheese onto the last layer and bake in the preheated oven for 30-40 minutes. You might have to cover up the top with foil after 25minutes to prevent the cheese from becoming too brown or burning! Take out of the oven and let it rest for 15 minutes. Cut into 4 pieces and serve with salad or bread! You will notice that some juice has set at the bottom of the pan. Don't worry, no need to panic, this is perfectly normal! Enjoy!


Raspberry and Pistachio Rolls


I love waking up in the morning and just looking through the pantry to see what we have in store for a baking or cooking session~ So exciting, don't you think? I had absolutely no idea of what to bake today... UNTIL I saw an open pack of lovely greenish pistachios laying there, waiting to be baked into something yummy! I ran over to the store and bought some fresh raspberrys, hurried back home and got to work! Check it out!


Ingredients

(makes 12 Raspberry rolls)


Sweet yeast dough
  • 2 3/4 cups of all purpose flour
  • 3/4 cube (35g) fresh yeast
  • 1/4 cup sugar
  • 1 teaspoon bourbon vanilla
  • 1/3 cup milk
  • 3 tablespoons butter
  • 1 large egg
  • 1/4 cup water
  • 1/2 teaspoon salt

Filling and eggwash
  • 100g fresh raspberries
  • 100g salted pistachios, crushed
  • 1 teaspoon lemon zest
  • 2 teaspoons lemon juice
  • 100g sugar
  • 2 tablespoons melted and browned butter
  • 1 egg yolk
  • 1dl milk
Preparation

Preheat oven to 170°C.
In a large mixing bowl whisk together 2 cups flour, sugar, and salt.  Set aside.
Whisk the egg  and set aside.
In a small saucepan, melt together milk and butter until butter has just melted.  Remove from the heat and add water and vanilla extract.  Break in the fresh yeast and stir well until the yeast has dissolved completely.
Pour the milk mixture into the dry ingredients and mix with a spatula.  Add the egg and stir the mixture until the eggs are incorporated into the batter. Add the remaining 3/4 cup of flour and stir with the spatula for about 2 minutes.  The mixture will be sticky.  That’s just how you want it!
Place the dough in a large,  slightly greased bowl.  Cover with plastic wrap and a clean kitchen towel.  Place in a warm place and allow to rest until doubled in size, about 1 hour.
While the dough is rising, mix together the raspberries, sugar, lemon juice and zest and crushed pistachios.
Once the dough has risen, sprinkle some flour onto a clean surface and roll out the dough into a rectangular shape. The dough should be about 1/2cm thick. Melt butter in a frying pan until brown. Spread the butter onto the dough and evenly place the raspberry mixture onto the dough aswell. Roll the dough lengthwise to make a long roll. Divide the roll into 12 pieces and place them into a greased oven form, leaving some space in between the rolls! Let the rolls rise once again in a warm place for 10 minutes. Mix the egg yolk with 1dl milk and brush over the rolls. Make sure all sides and tops are egg washed! Then bake in the preheated oven for 20 minutes, or until golden. Enjoy the delicious smell while baking... It made me fell sooo hungry that I scoffed down 2 whole rolls for lunch!

12.09.2011

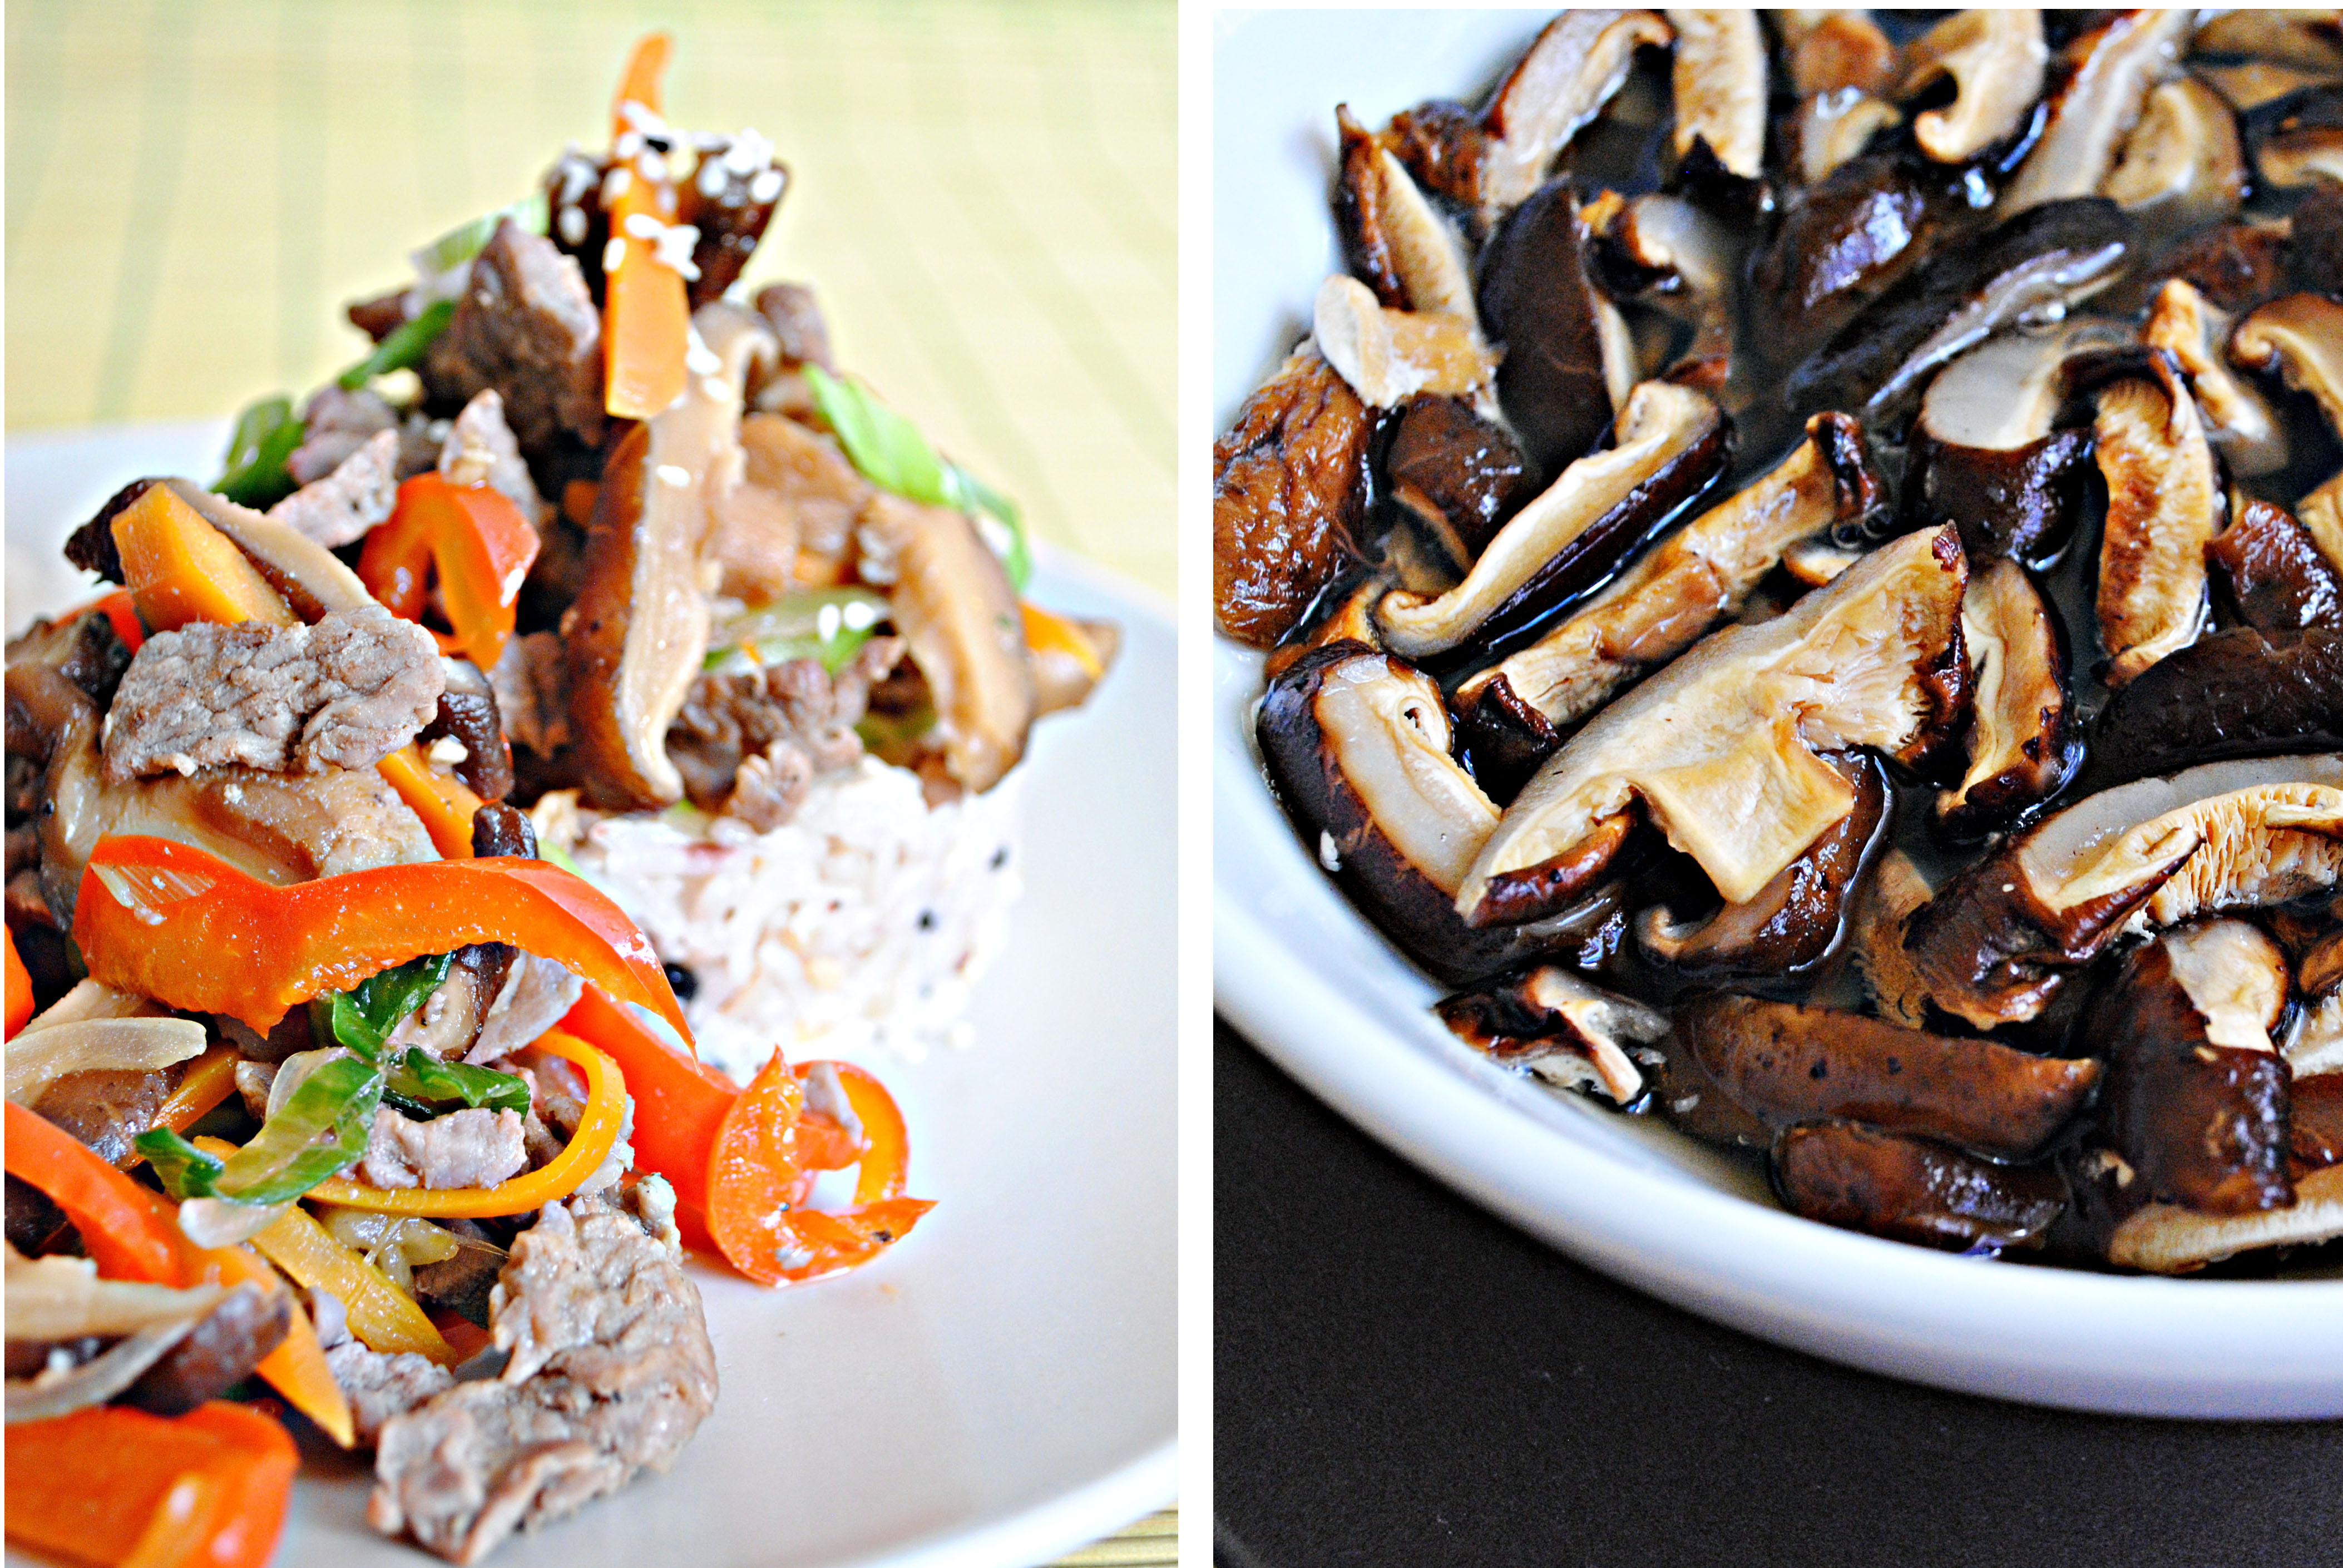
Bulgogi


Bulgogi in Korean means fire meat. But don't get scared, the fire does not refer to the spiciness of the dish but rather the cooking technique used. Bulgogi was one of the dishes that were served to royalties in the late dynasties of Korea. Bulgogi is now one of the most popular Korean dishes among natives and foreigners and if you're interested in making Bulgogi at home, it's really easy, just read on!


Ingredients


(serves 2 big eaters, 4 small eaters)

1 hour preparation in advance

Marinating the beef
  • 400g beef sirloin, cut into strips
  • 3 tablespoons soy sauce
  • 1 tablespoon sesame oil
  • 1 tablespoon white sugar
  • 2 garlic cloves, pressed
  • ground pepper
Vegies and seasoning
  • 1 stalk of spring onion
  • 1 carrot, chopped into strips
  • 200g dried chitake mushrooms (soaked in water)
  • 1 medium onion, cut into half then sliced
  • 1 red pepper (optional)
  • 1,5dl water
  • 1,5 teaspoon beef bouillon (stock)
  • salt
  • 1 teaspoon sesame seeds
  • vegetable oil
  • Steamed white rice 

Preparation

In a medium sized bowl, combine the beef with the marinating ingredients and mix well with a spoon or your hands. Cover with wrap and place in fridge for 1 hour. Soak the dried chitake mushrooms in water and set aside for 1 hour.

Slice your vegetables into stripes, NO cubes! Heat 1 tablespoon of oil in a large frying pan over high heat. Fry the carrots, onions and pepper (if using) with 2 pinches of salt until medium-soft. Take the veggies out onto a plate. In the same frying pan, heat another tablespoon of oil and fry the meat on medium-high heat for 3-4 minutes. Add the mushrooms, a sprinkle of salt, pre-fried vegetables and water with the beef stock (bouillon) and simmer on medium heat.

1 minute before serving, stir in the chopped spring onions and sprinkle some sesame seeds into the pan and give everything a good stir!

Serve the Bulgogi with steamed rice! Bon Appetit!