Recipes

Posts mit dem Label Vegetables werden angezeigt. Alle Posts anzeigen

14.09.2011

Fish Skewers with Couscous and Vegetables


It's only the first day of my so-called "diet" but can you notice the change of my eating habits already? Can you?! I sure can... Who else eats fish twice a day?! Well, I didn't exactly plan for this to happen, but we had lot's of fish in the fridge so I decided to use it up rather than waiting for tomorrow~


Ingredients

(serves 4)
  • 6 filets of fish (flounder is the fish I used)
  • ready made pesto
  • 1 large zucchini
  • 2 red peppers
  • salt
  • freshly ground pepper
  • olive oil
  • wooden skewers

Preparation

Slice the zucchini lengthwise into 1/2cm thick stripes. In a large frying pan heat some olive oil on high heat. Place the zucchinis into the hot pan and fry each side for 3 minutes or until soft. Take away from heat and allow to cool down.

Preheat oven to 250°C!

Cut each fish filet into half. Then divide each half into 4-5 pieces. Sprinkle a few pinches of salt onto each side of the fish and grind some pepper too.
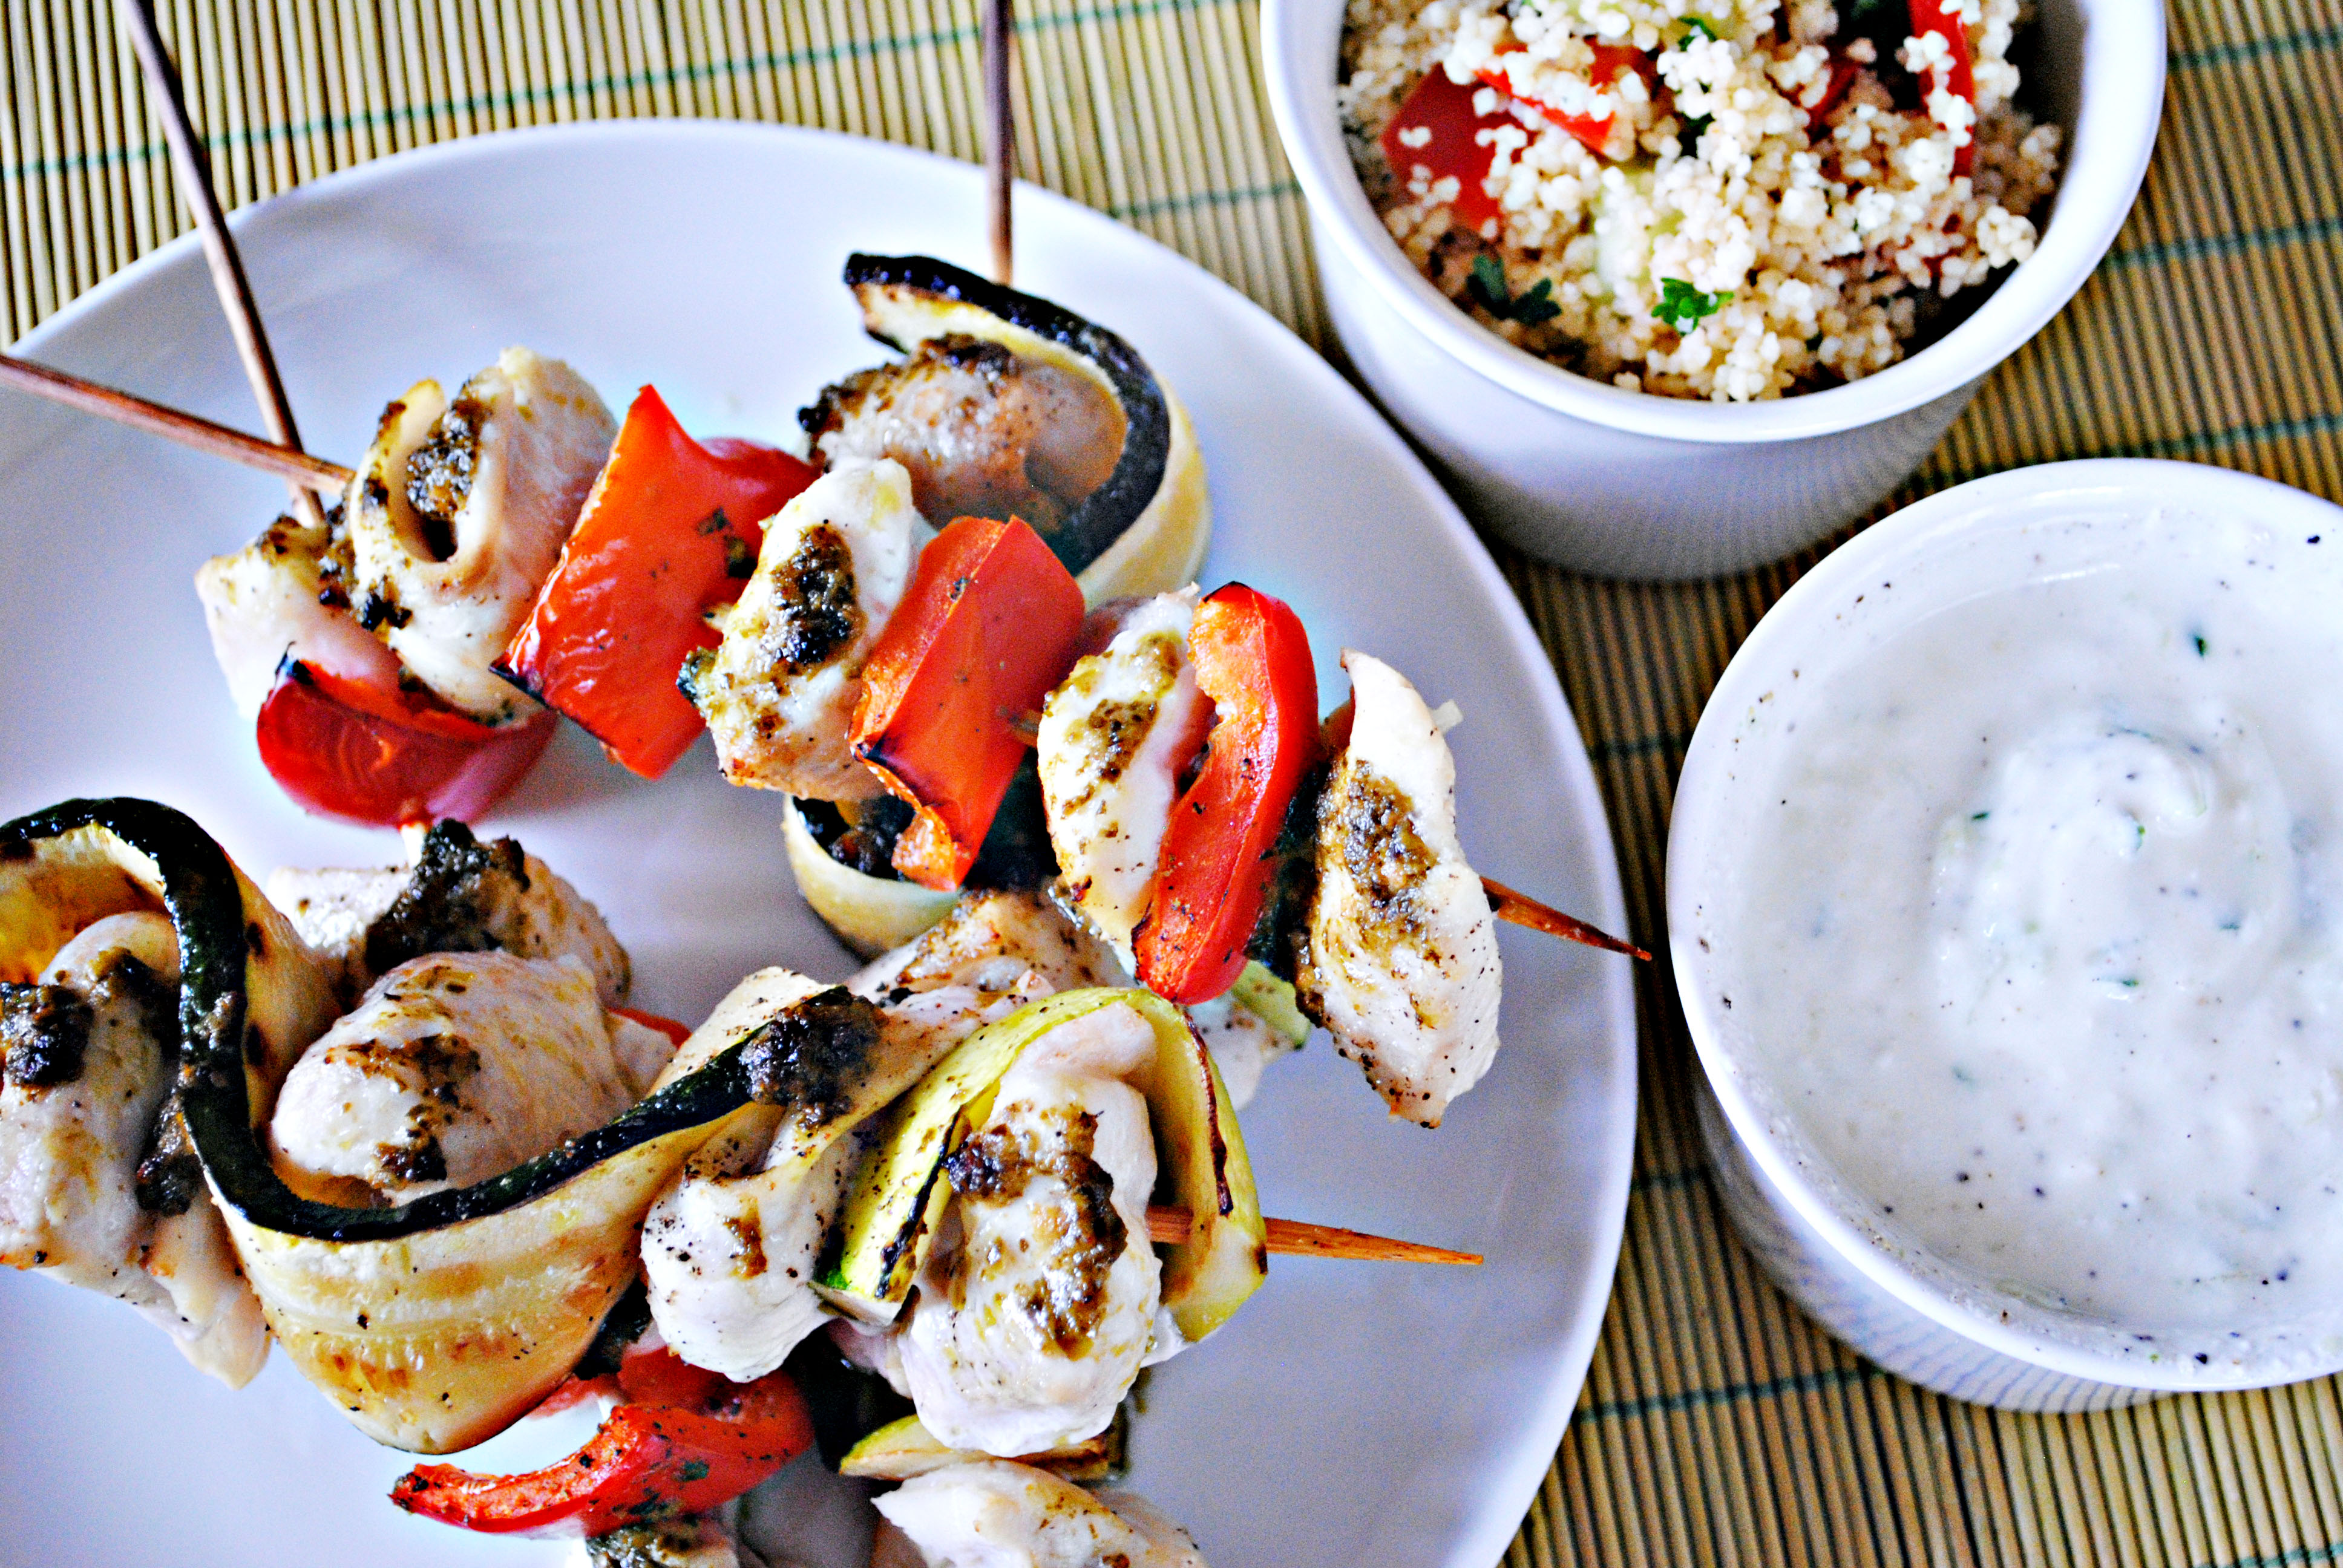
Now, use your hands to skewer the zucchini and fish onto your wooden skewers as shown in the picture below.

Note: You could also just cut your zucchini into bite sized pieces... That would probably be easier~ PLUS you wouldn't have to go through all the trouble of frying the zucchini to soften it! 

Cut your pepper into 3-4cm pieces and skewer them like this: fish-pepper-fish-pepper etc. easy?
Place all skewers into a large pan. Grab some pesto from the fridge and spread about 1 teaspoon of pesto onto each skewer. Then bake your babies in the preheated oven for only 8-10 minutes! Voilà!

Serve with pasta, rice or potatoes! I chose to make couscous salad... I just love couscous to death!

Zucchini Lasagne


A few years ago my dad and I saw this recipe in a weekly magazine on a warm summers day and decided to try it out immediately! The recipe looked so fresh and we both knew immediately that it would grant us with a perfectly light summer lunch. Today, I made this zucchini lasagne for my mom and brother who absolutely loved it! This is a very light dish so we ate freshly baked sunflower seed bread and Gruyere cheese with it... yummmmy!


Ingredients


(makes enough for 4 if you eat bread or salad with it)
  • 6-8 medium zucchinis, sliced lengthwise into 1/2 cm stripes
  • 400g low fat quark, drained overnight (substitute with:  350g of Ricotta Cheese and 50g of Sour Cream and blend together)
  • 1 dl milk
  • 100g ground parmesan cheese + more to sprinkle on top
  • 1 handfull of fresh basil or parsley
  • 2 medium sized eggs
  • 1,5 teaspoons salt + more for grilling zucchinis
  • 2 teaspoons ground pepper
  • olive oil

Preparation

Place quark into a cheese cloth and drain the water for 2 hours in the fridge.
In a medium bowl combine the quark (or ricotta with sour cream) with the eggs, 1dl milk, 100g parmesan cheese and chopped basil or parsley. Add salt and pepper and mix well. Cover with wrap and place in the fridge.

Wash the zucchinis, peel off the skin in a zebra-style, not all(!) and slice lengthwise into 1/2cm thick pieces. Heat  some olive oil in a large pan or even better - a grilling pan with grids - on high heat. Place the zucchini into the hot pan, sprinkle with a pinch of salt and grill on each side for about 3 minutes. Place the medium-soft zucchinis onto a plate and repeat this procedure until all the zucchinis are done.

Preheat oven to 180°C.

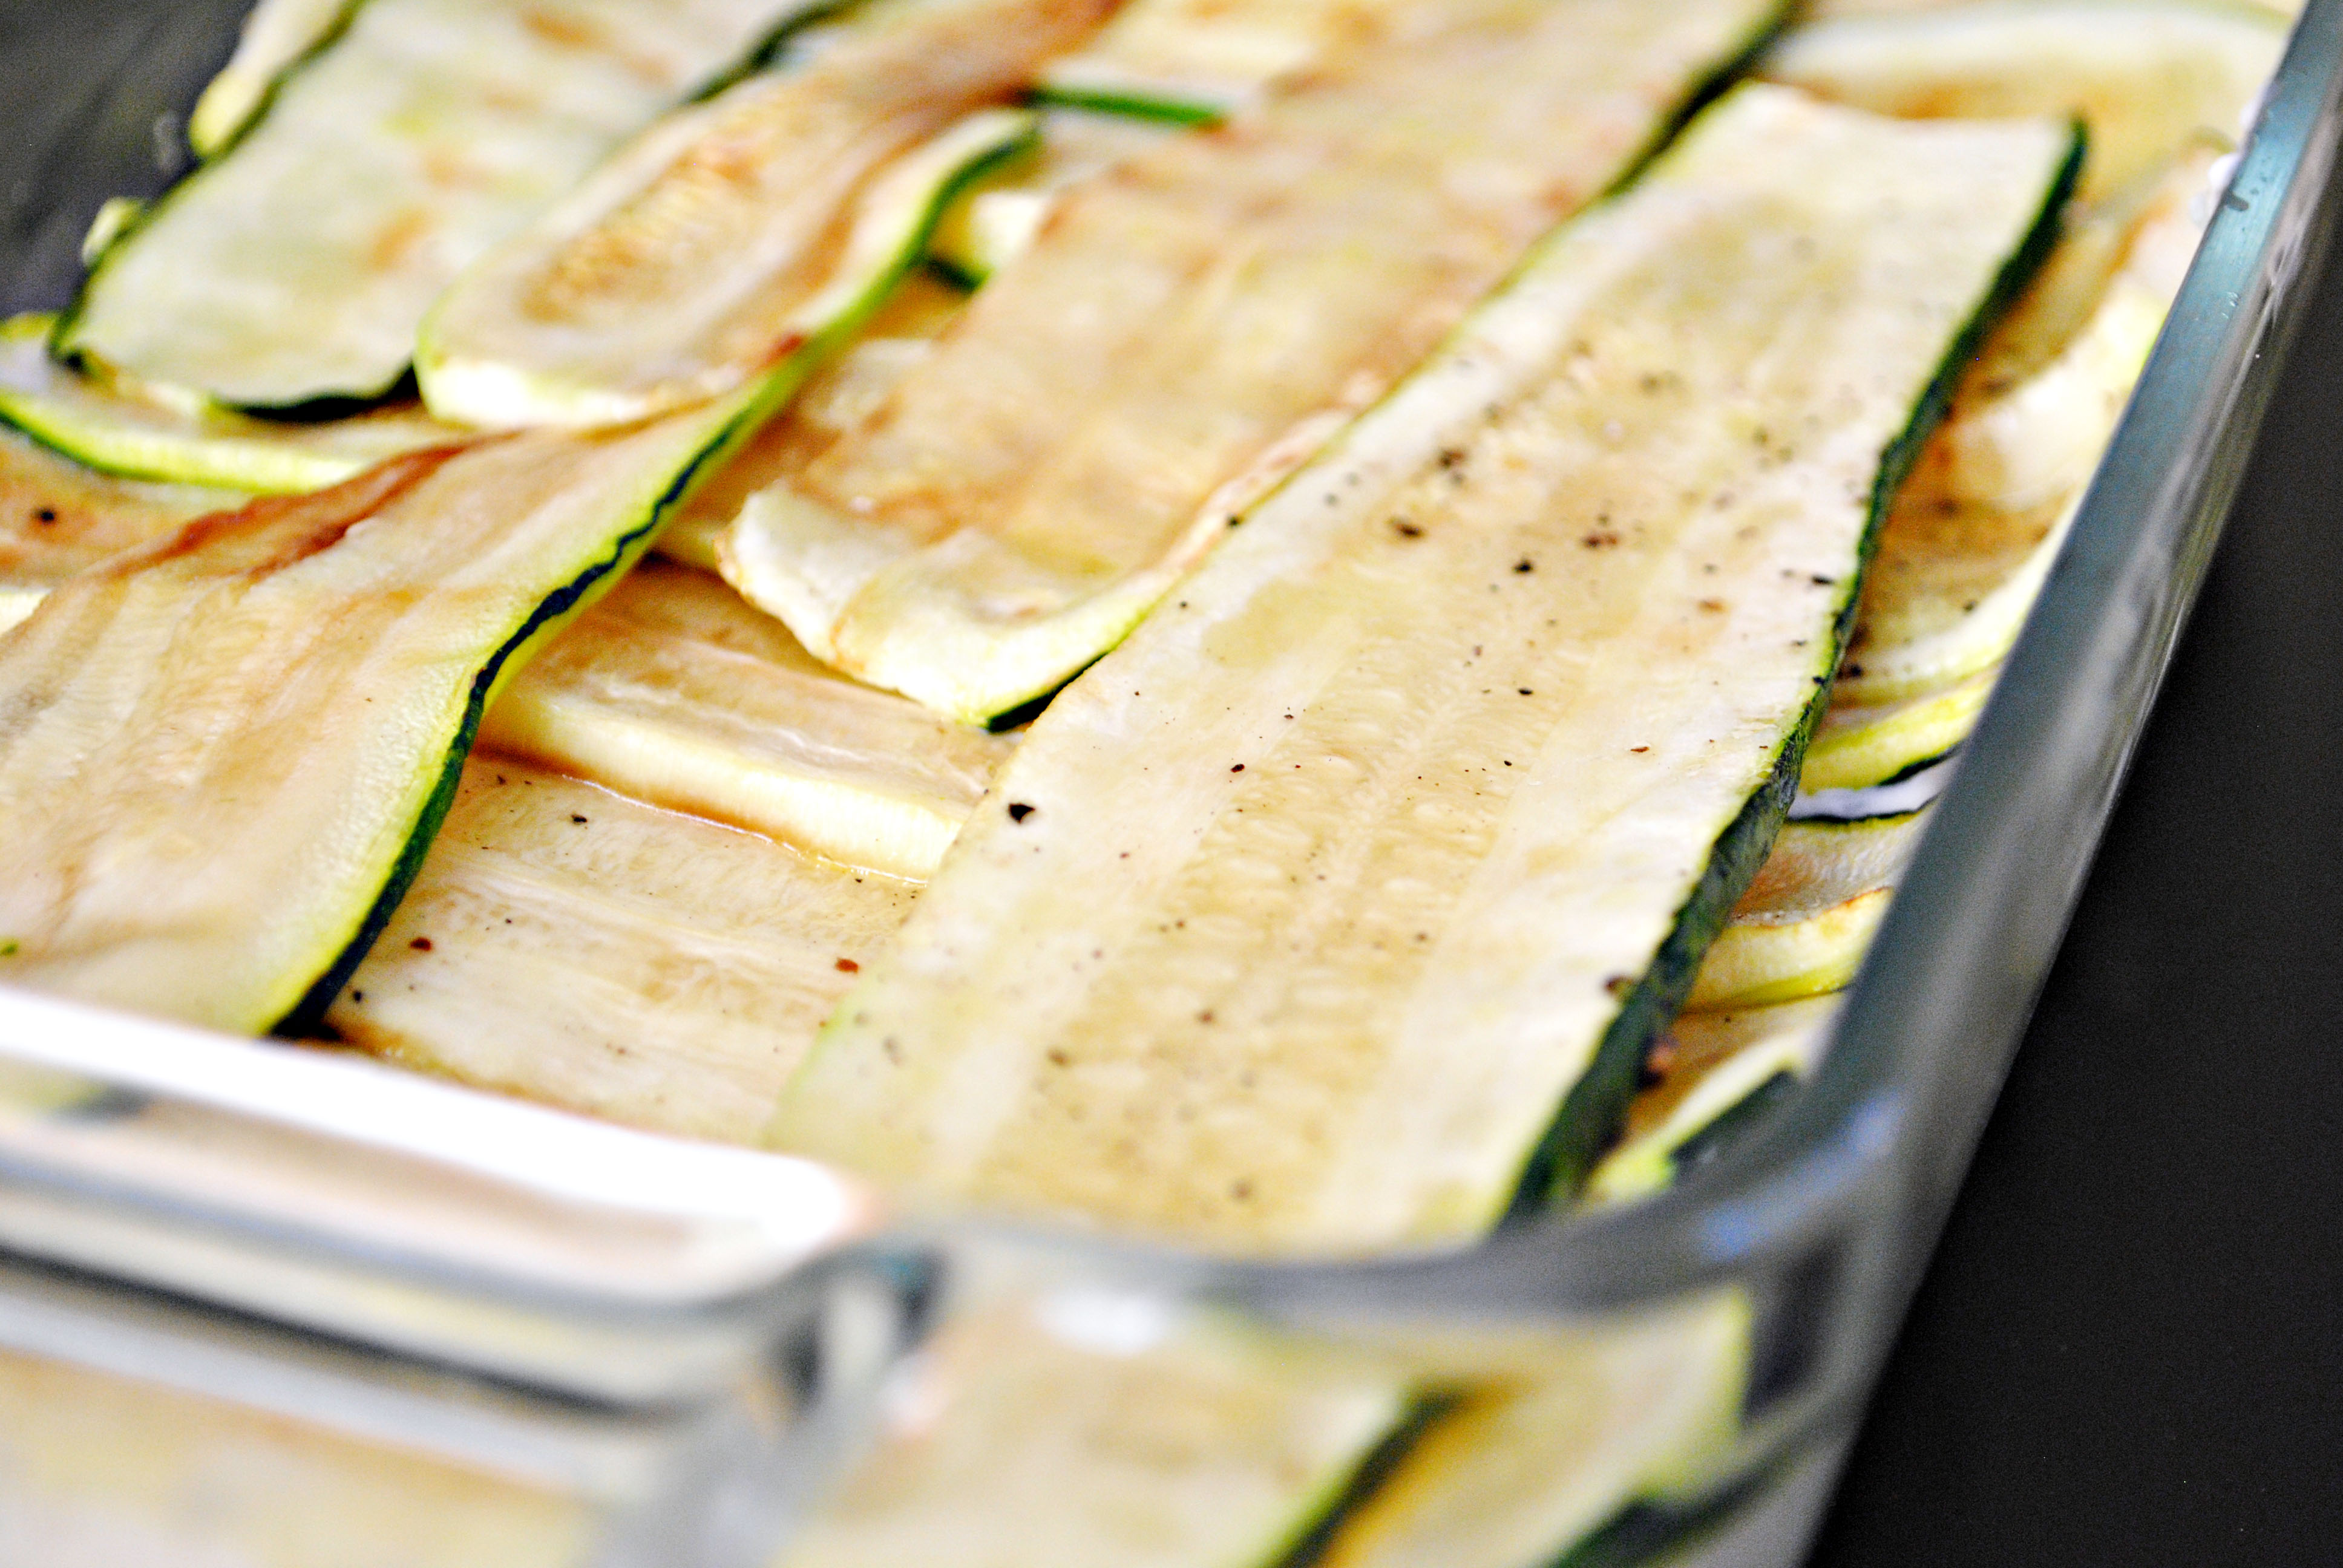
In a gratin pan with high sides, place a layer of zucchini onto the bottom. Spread the quark filling over the zucchini and repeat until the last layer on top is zucchini.
Tip: Layer the zucchini this way: one layer horizontal the next vertical etc. It will be easier to cut the lasagne in the end!

Sprinkle some parmesan cheese onto the last layer and bake in the preheated oven for 30-40 minutes. You might have to cover up the top with foil after 25minutes to prevent the cheese from becoming too brown or burning! Take out of the oven and let it rest for 15 minutes. Cut into 4 pieces and serve with salad or bread! You will notice that some juice has set at the bottom of the pan. Don't worry, no need to panic, this is perfectly normal! Enjoy!


12.09.2011

Bulgogi


Bulgogi in Korean means fire meat. But don't get scared, the fire does not refer to the spiciness of the dish but rather the cooking technique used. Bulgogi was one of the dishes that were served to royalties in the late dynasties of Korea. Bulgogi is now one of the most popular Korean dishes among natives and foreigners and if you're interested in making Bulgogi at home, it's really easy, just read on!


Ingredients


(serves 2 big eaters, 4 small eaters)

1 hour preparation in advance

Marinating the beef
  • 400g beef sirloin, cut into strips
  • 3 tablespoons soy sauce
  • 1 tablespoon sesame oil
  • 1 tablespoon white sugar
  • 2 garlic cloves, pressed
  • ground pepper
Vegies and seasoning
  • 1 stalk of spring onion
  • 1 carrot, chopped into strips
  • 200g dried chitake mushrooms (soaked in water)
  • 1 medium onion, cut into half then sliced
  • 1 red pepper (optional)
  • 1,5dl water
  • 1,5 teaspoon beef bouillon (stock)
  • salt
  • 1 teaspoon sesame seeds
  • vegetable oil
  • Steamed white rice 

Preparation

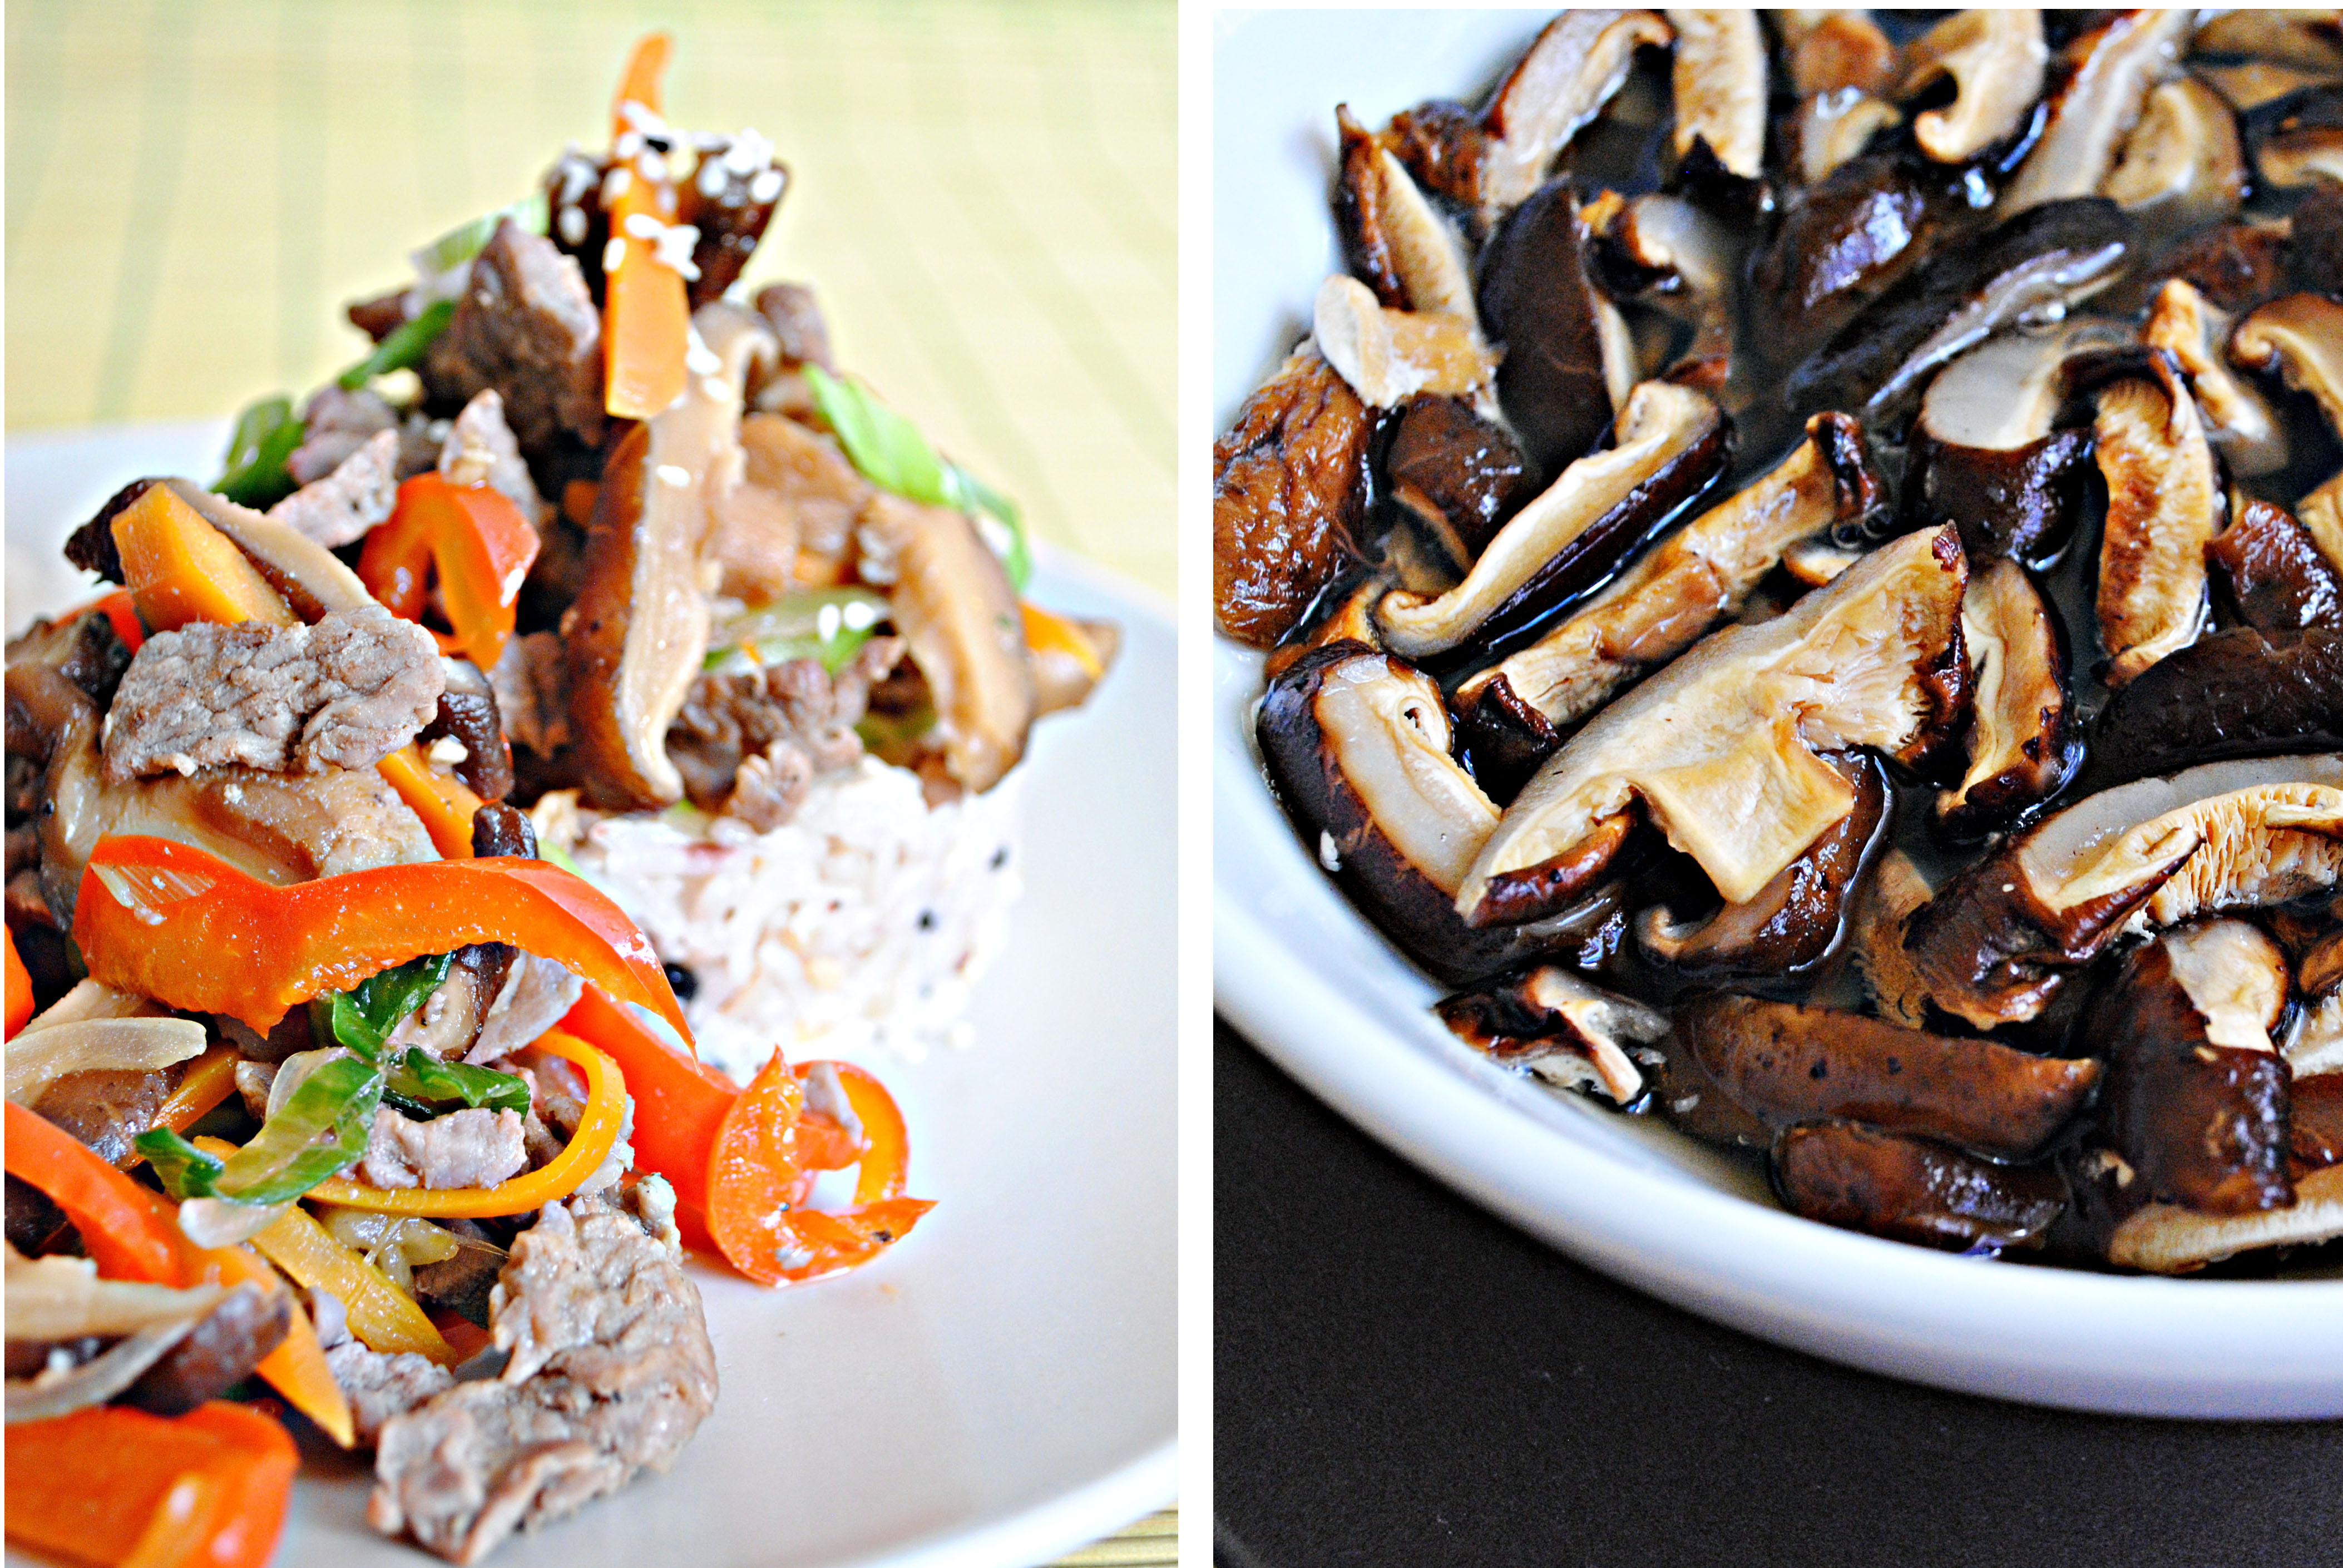
In a medium sized bowl, combine the beef with the marinating ingredients and mix well with a spoon or your hands. Cover with wrap and place in fridge for 1 hour. Soak the dried chitake mushrooms in water and set aside for 1 hour.

Slice your vegetables into stripes, NO cubes! Heat 1 tablespoon of oil in a large frying pan over high heat. Fry the carrots, onions and pepper (if using) with 2 pinches of salt until medium-soft. Take the veggies out onto a plate. In the same frying pan, heat another tablespoon of oil and fry the meat on medium-high heat for 3-4 minutes. Add the mushrooms, a sprinkle of salt, pre-fried vegetables and water with the beef stock (bouillon) and simmer on medium heat.

1 minute before serving, stir in the chopped spring onions and sprinkle some sesame seeds into the pan and give everything a good stir!

Serve the Bulgogi with steamed rice! Bon Appetit!

Grilled Eggplant with Pesto and Tomato Couscous


Grilling eggplant in a frying pan isn't the easiest and quickest thing to do... You need patience. Lot's of patience.... On the other hand all that waiting pays off in the end once you bite into the soft, tender, silky, purple vegetable. It's just THE best way to cook an eggplant. At least hat's my opinion. Grill it, just grill it.


Ingredients


(makes 6 "bruschettas")
  • 1 medium sized eggplant
  • 1 large tomato
  • 2 tablespoons couscous
  • 3 tablespoons water
  • 1/2 teaspoon bouillon
  • 1 1/2 tablespoons chopped parsley
  • pesto from a glass
  • olive oil
  • salt
  • pepper
Preparation

Cut your eggplant into 6 equally thick pieces. Sprinkle some salt over the slices, drizzle some olive oil into a large frying pan and heat on medium heat. Place the eggplant into the pan and grill until both sides are browned. This will take about 15 minutes...

Meanwhile, heat 3 tablespoons of water in a small saucepan. Once the water just starts to boil, take away from heat, add bouillon and couscous. Cover the saucepan with a plate and let the couscous suck up all the moisture. After 2-3 minutes, take a fork and fluff up the couscous.

Chop the parsley as small as you can, cut the tomato into 1/2cm cubes (only the flesh) and add both ingredients to the couscous. Add a pinch of salt and some ground pepper to it and drizzle some olive oil and mix well.

Take your eggplants from the pan and place them nicely onto a large plate. Spread 1/2 teaspoon of pesto over the eggplants and top them with the couscous mixture!

There you go, a wonderfully light meal for one or as a starter! C'est bon!

Hungarian Gulasch Soup


One of the best things about knowing lot's of people from all over the world is that they can teach you how to cook their countries specialities. In this case, a good friend of my mom, who is Hungarian, taught us how to make the original Gulasch Soup from scratch! This recipe will definitely be treasured in one of my many recipe note-books for the rest of my life. I love soup. I love spicy soup. I love soup with vegetables and meat. What better soup than Gulasch?!


Ingredients


(serves 8 people)
  • 1kg beef ragout meat, cut into 1,5cm cubes
  • 2 large carrots, peeled, diced into 1cm cubes
  • 4 potatoes, peeled, diced into 1cm cubes
  • 4 peppers (red or yellow), diced into 1cm cubes
  • 1 knob of celery, peeled, dices into 1cm cubes
  • 4 celery stalks, peeled, diced into 1cm cubes
  • 6 medium onions, peeled, blended
  • 1 whole garlic, peeled, blended
  • 1 tablespoon whole cumin seeds
  • 1,5 tablespoons tomato paste (from tube)
  • 2 tablespoons red paprika powder
  • 1/2 tablespoon Gochugaru/red hot korean chilli powder (optional)
  • salt
  • pepper
  • beef stock
  • vegetable oil
  • water, water, water
Preparation


Prepare the meat and vegetables including garlic and onion as listed above.


Heat a large soup pot on high heat with 2 tablespoons of vegetable oil. Once the oil is hot add the onions and stir until glossy and soft. Add the garlic and cummin seeds and stir once again until garlic and onions become softer. Now add 2 tablespoons of paprika powder, 1,5 tablespoons of tomato paste and the gochugaru (if using). Give everything a good stir.


Add the diced meat to the onion mixture, lower heat to medium and stir occasionally. The meat will release some juice after a few minutes, so don't worry if the mixture looks dry in the beginning. Stir to prevent from sticking to the bottom. Let everything simmer until the juice has reduced to half. Now add 2dl water and wait for it to reduce again. Repeat this step for 1 hour. Occasionally stiring. This procedure will help tenderize the meat so that it will literally melt on your tongue.


After 1 hour have a taste of the meat to see if it is tender enough. If not, let it simmer longer.
Now pour in some water (about 700ml) so that all the meat is covered, sprinkle 2-3 teaspoon of beef stock into the soup, add the diced carrots and diced celery knob and simmer over medium-low heat for 2 hours.


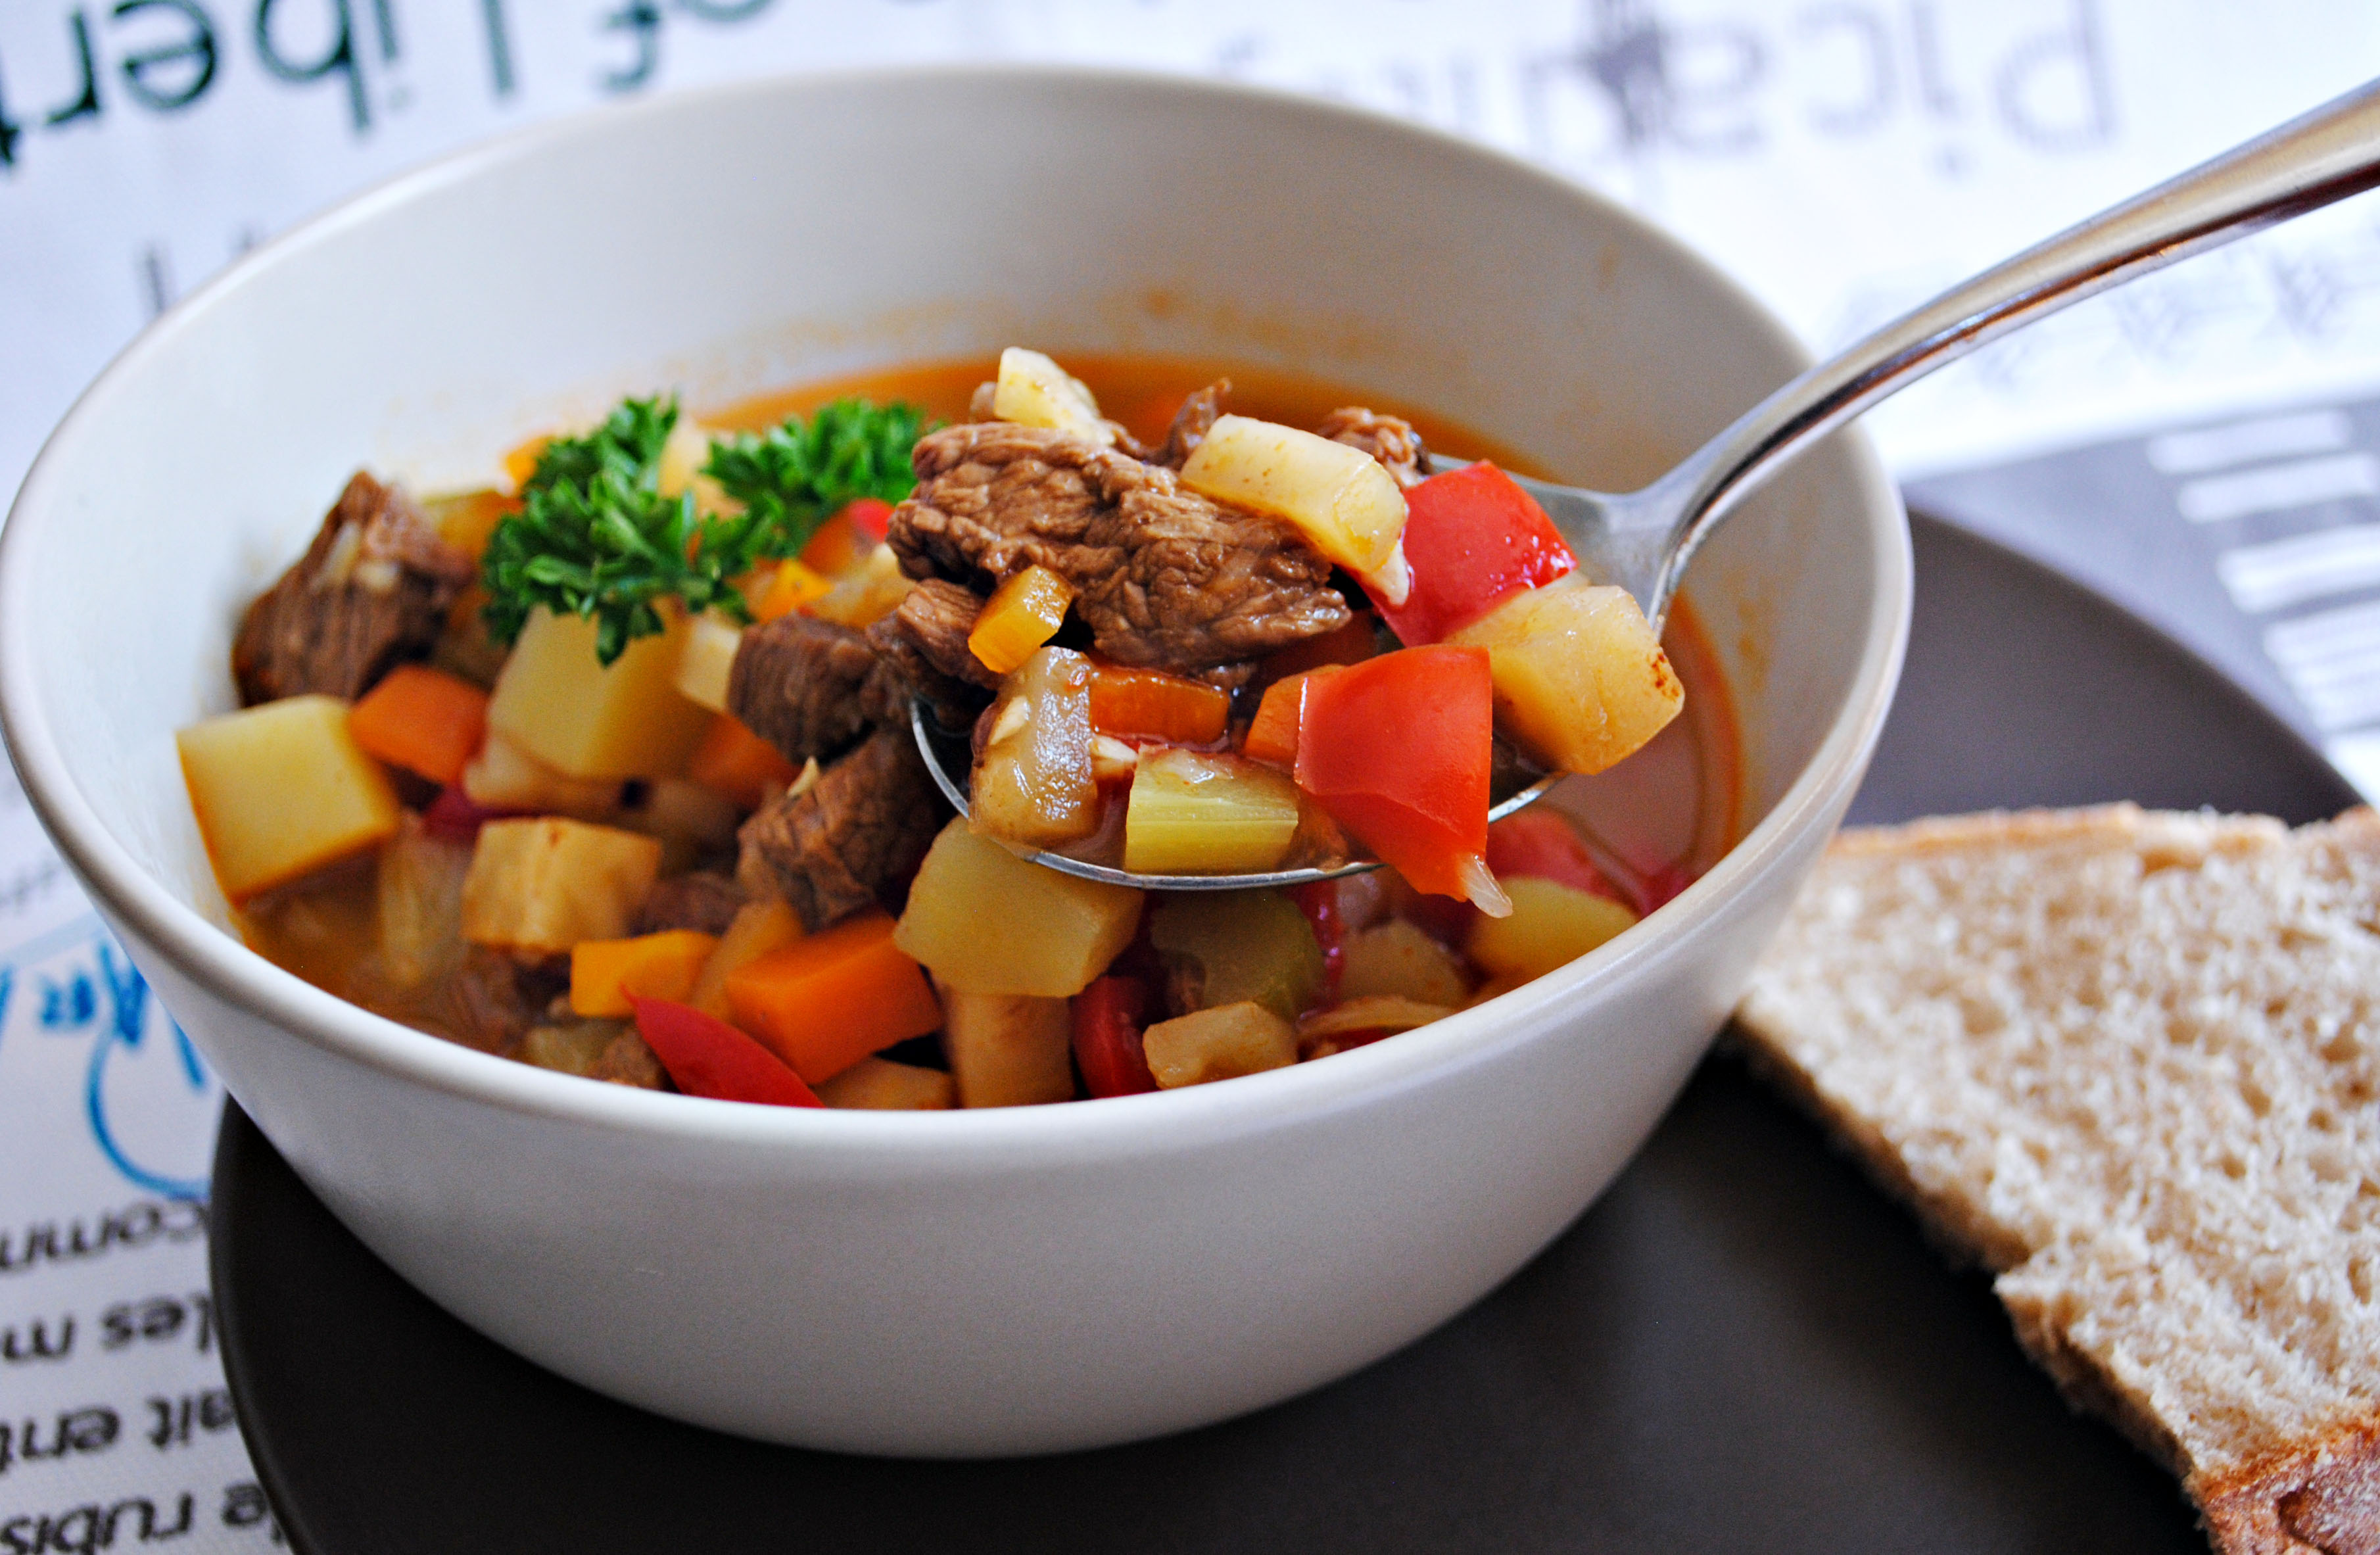
After 2 hours of simmering, add the potatoes and peppers into the soup. Add more water to cover all the vegetables completely. Simmer once again. About 15 minutes before serving, mix in the celery stalks and bring everything to a boil over high heat. Gind in some freshly ground pepper and add some salt if needed. Try the soup to see if the taste suits you. Slice some pieces of fresh bread and dig in! Yum...